1. Course Management
1.1. How to Create A New Course
There are 2 simple Steps to Create New Course in Course Management :
Step 1: Click create new course icon  to add new course
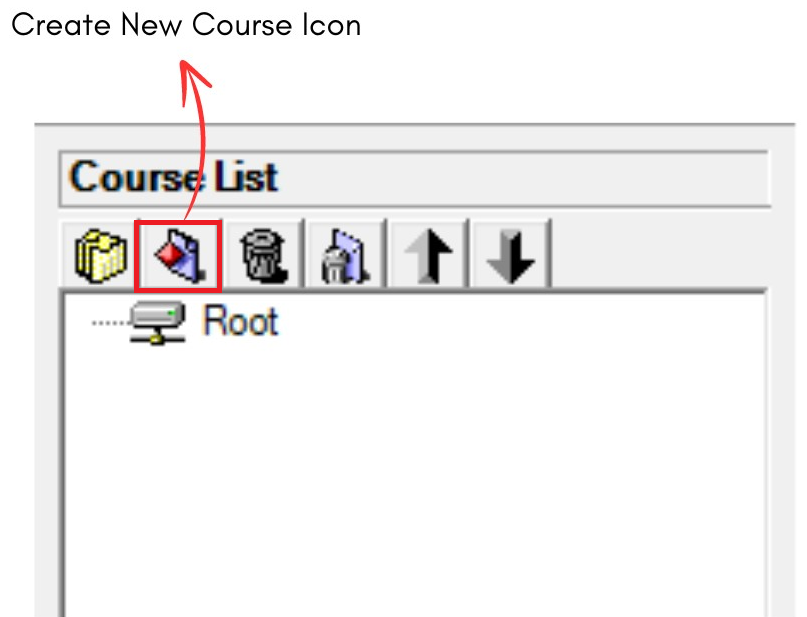
Diagram 1.1.1: Course Management Icons
Step 2 : Fill in the course detail with information you have
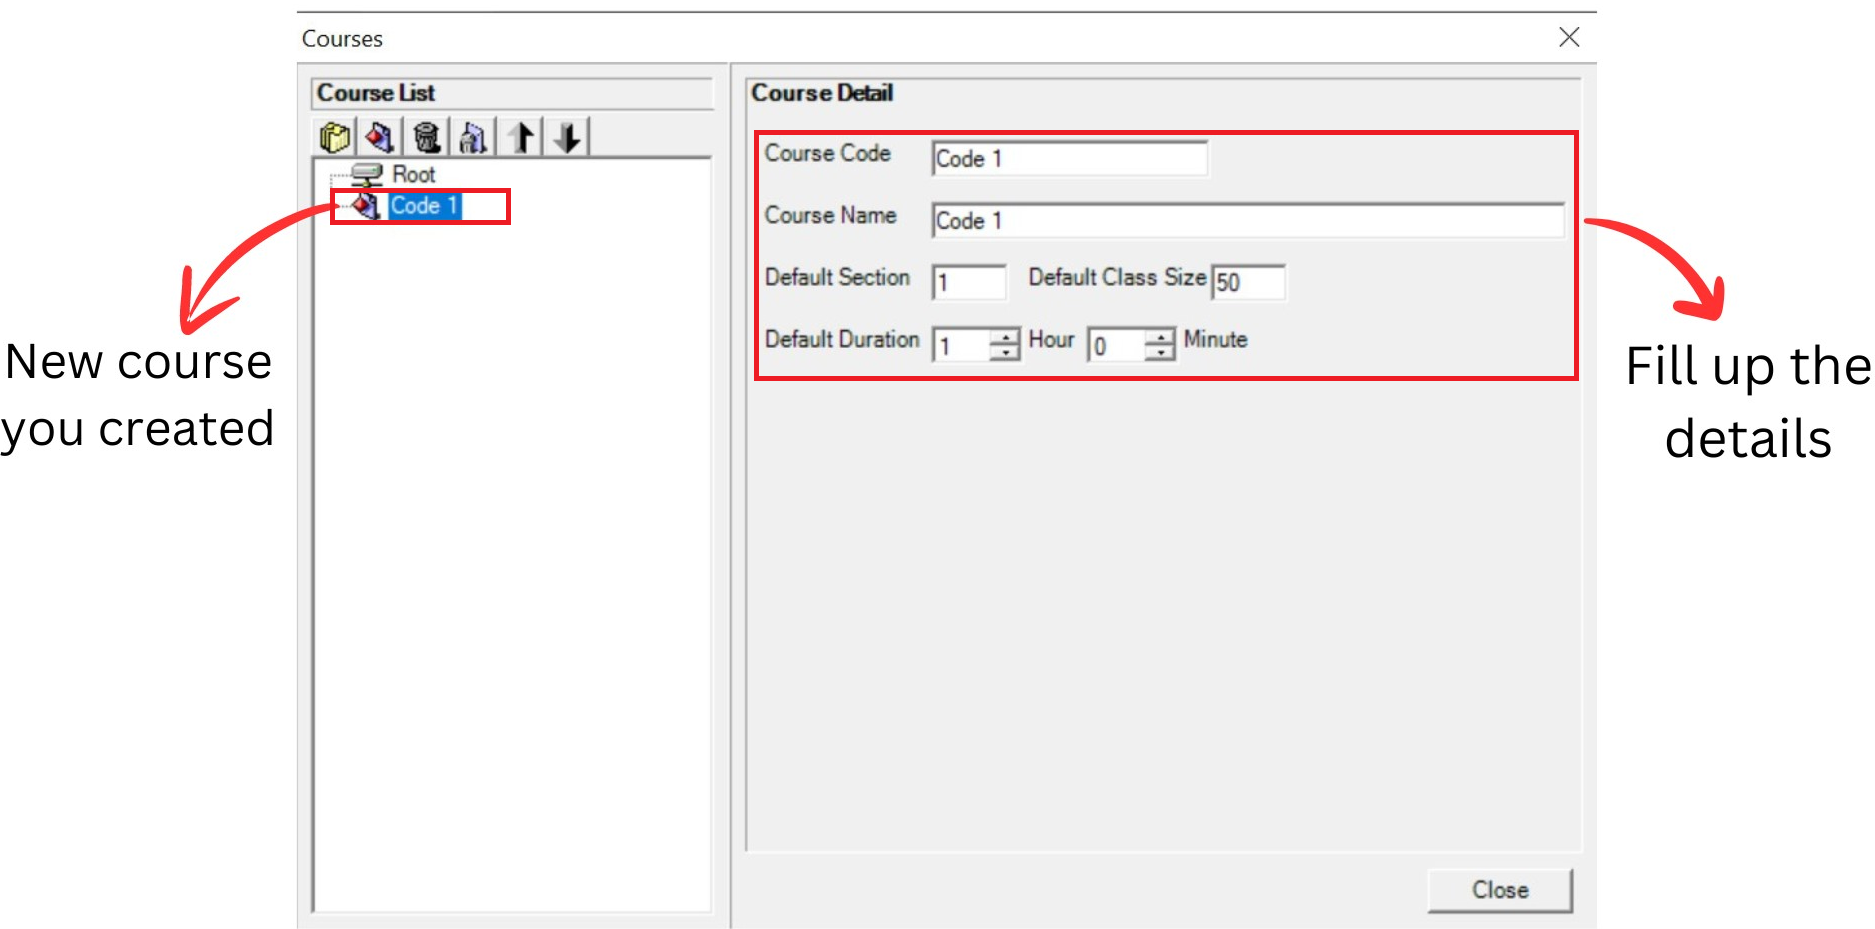
Diagram 1.1.2: Default details of a new course
Refer to the table below as example.
Course Code | Short name of the course. NOTED: Course code cannot be duplicated |
Course Name | Long name of the course |
Default Section | Default section is 1. User can make changes in data entry. |
Default Class Size | Default class capacity is 20 User can make changes in data entry |
Default Duration | Default duration is 1 hour. User can make changes in data entry |
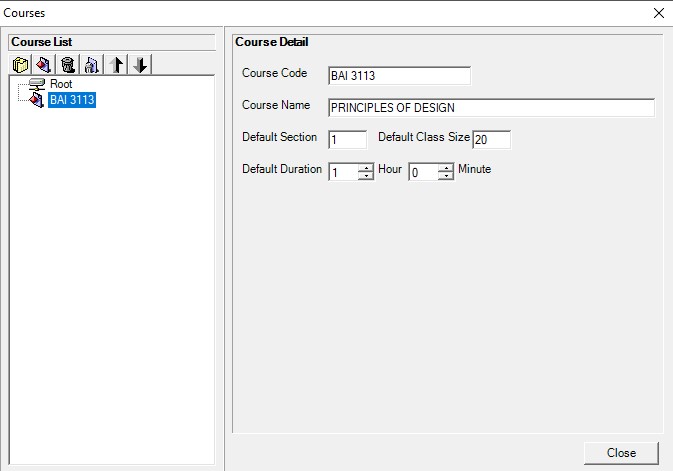
Diagram 1.1.3: Filled course detailsImportant Note:
1. New course you created will automatically appear at the bottom list of courses.
Fill up the course detail and you close the course management window and reopening it, the course will be found in the list of course according to alphabetical order.
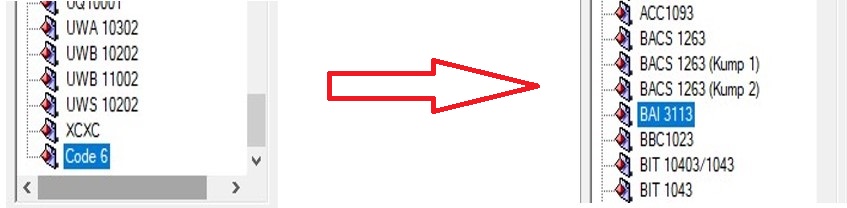
Diagram 1.1.4: Location new course you created before and after fill up the details
Option 1: Organize your courses into respective folder (Non-compulsory)
There are 3 steps to Create New Folder in Course Management
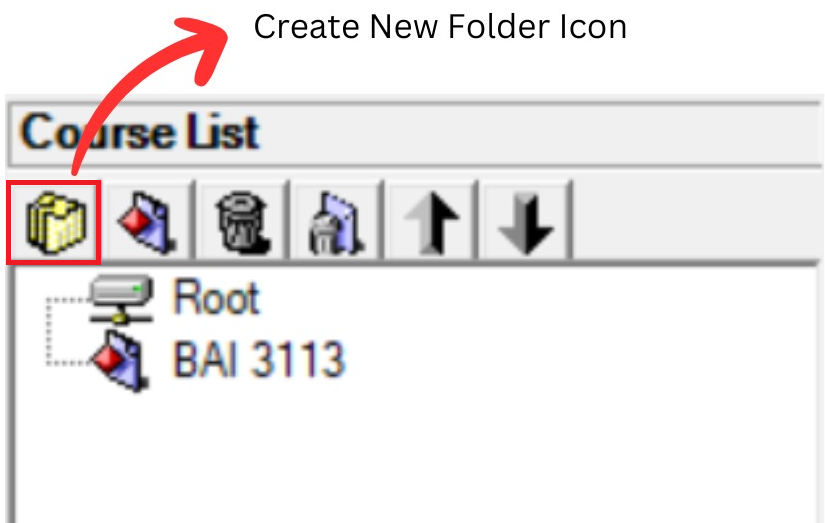
Diagram 1.1.5: Location of Create New Folder Icon
Step 1: Click Create New Folder icon  to organize your courses into respective folder.
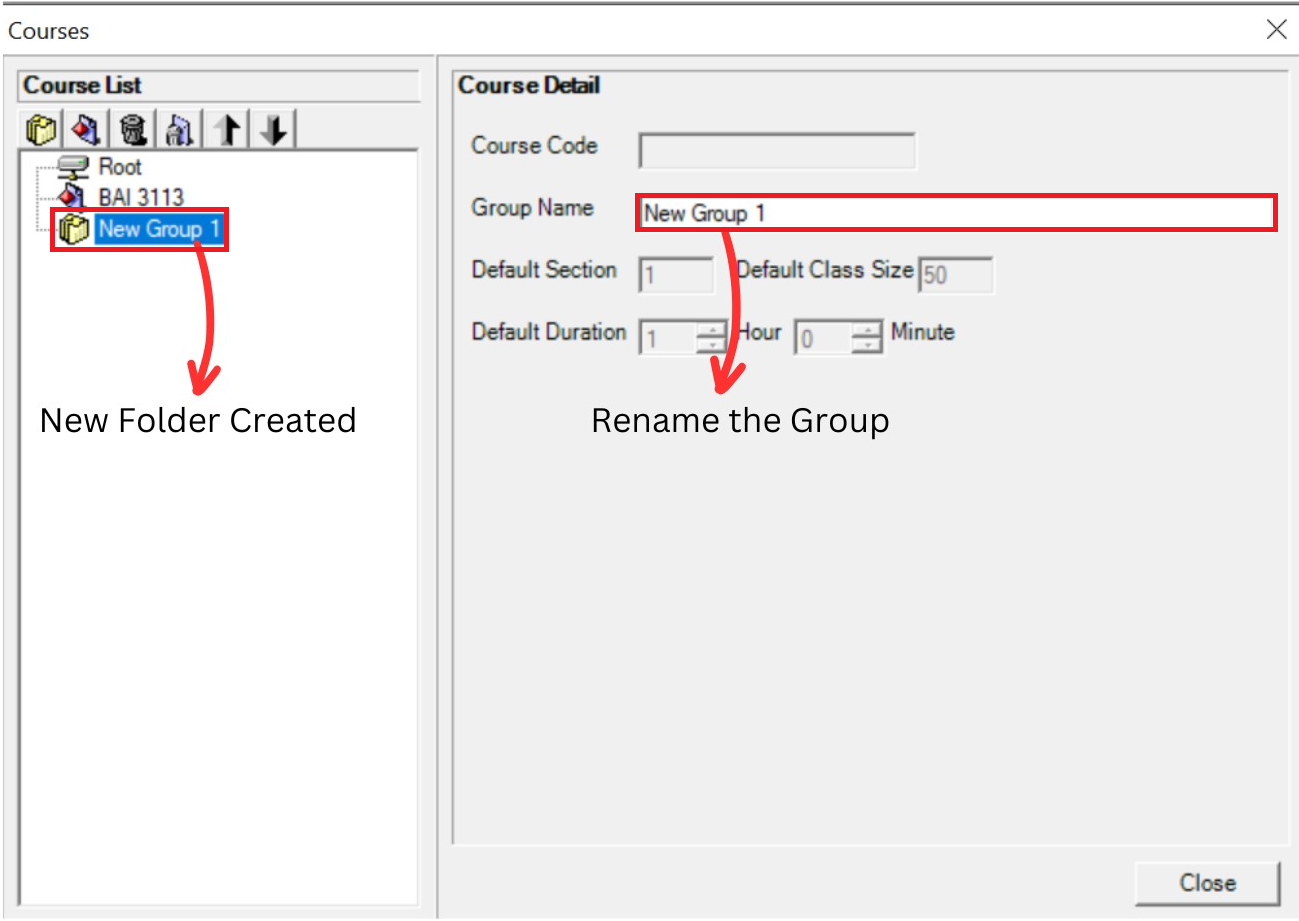
Diagram 1.1.6: Course folder details
Step 2: Rename the group.
(User can change the name by department of course. Example: DEPARTMENT OF ACCOUNTING)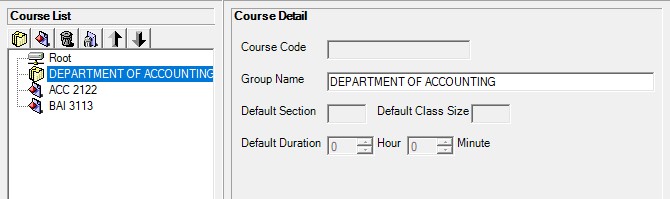
Diagram 1.1.7: Folder Renamed
Step 3: Drag the selected course to the folder and drop
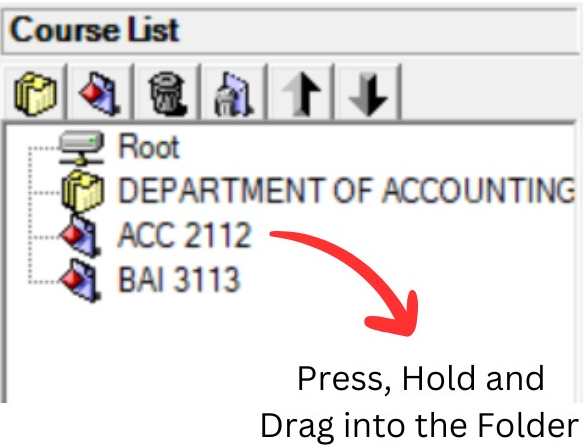
Diagram 1.1.8: Select a course to drag into the folder
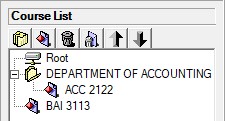
Diagram 1.1.9: Course under a folder
NOTED: New courses, new folders can be found at the bottom of the Course List. Once, Course Management has been closed, the new folder will follow the alphabetical order of the Course List once Course Management is reopened.