2. Course Management
1. Accessing Course Management
-
From the main dashboard, locate and click on Course Management.
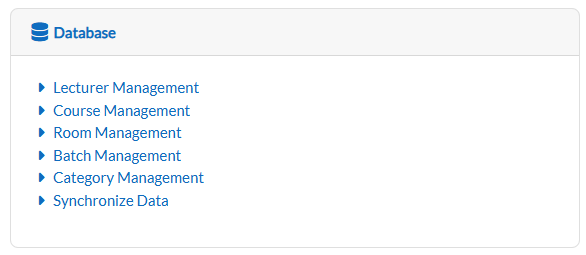
-
The system will open to the Course Catalogue tab by default.

2. Course Catalogue
View All Courses
- The main table displays:
- Course ID
- Course Code
- Name
- Credits
- Status (Active/Inactive)
- Action

- Navigate through pages using:
-
- Next/Previous buttons.
- Page numbers.

Add a New Course
-
Click the Action dropdown button.
-
Select "Add Course".

Fill in:-
Required Fields:
-
Course Code
-
Course Name

-
-
- Click:
-
-
"Save Changes" to add.
-
"Cancel" to abort.
-
Edit a Course
-
Locate the course in the table.
-
Click the pencil icon in its row

-
Update fields:
-
Required:
-
Course Code
-
Course Name
-
-
Optional:
-
Course Color
-
Credit
- Final Exam Duration
- Status
- Department Tag
- Description
-
-
-
Click:
-
"Save Changes" to confirm.
-
"Cancel" to discard.

-
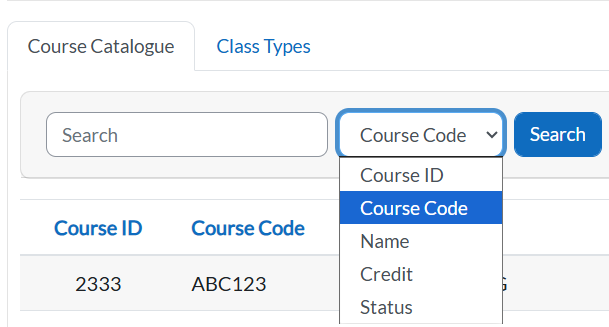
Search by Filter Courses
-
Click any dropdown arrow in column headers.
-
Select criteria.
-
Type in the keyword.
- Click Search button to see the result.
View Course Information
- Locate the course in the table.
- Click the Magnifying Glass Icon in the row.

- The system will display the full course catalogue details, including:
-
-
Course Code
-
Course Name
-
Default Credit
-
Status
-
Department Tag
-
3. Class Types Management
View Class Types
- Click the "Class Types" tab.

- The table lists:
- Class Type
- Action
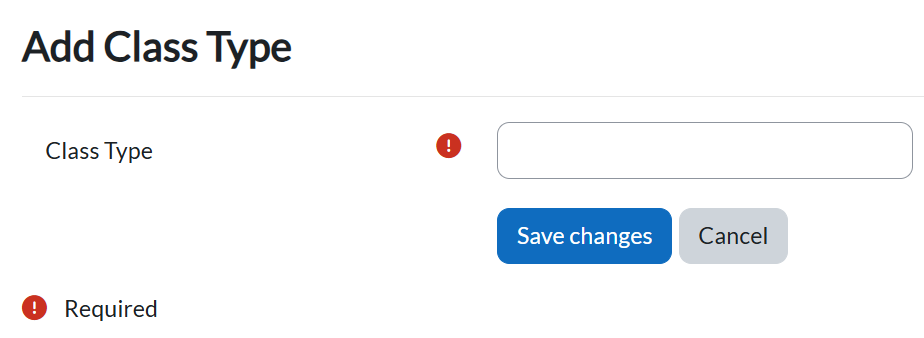
Add a Class Type
- Click the Action dropdown > "Add Class Type".
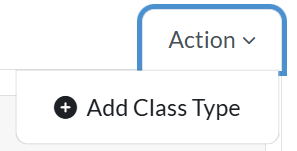
- Enter:
- Class Type
- Click "Save Changes".
Edit/Delete a Class Type
- Locate the type in the table.
- Click the pencil icon to edit or trash icon to delete.