3. Room Management
This section will guide you through managing rooms, buildings, and room types in Timetable Plus Campus.
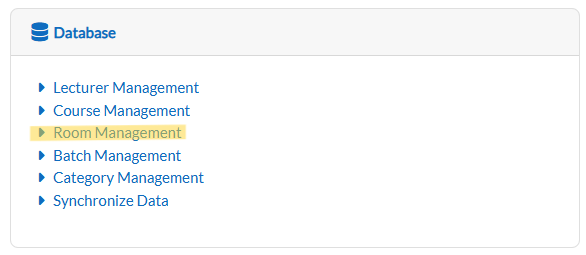
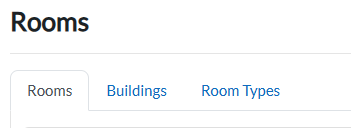
Step 1: Access Room Management
-
From the Dashboard, locate and click the Room Management.
-
The system will display three sub-tabs: Rooms, Buildings, and Room Types.
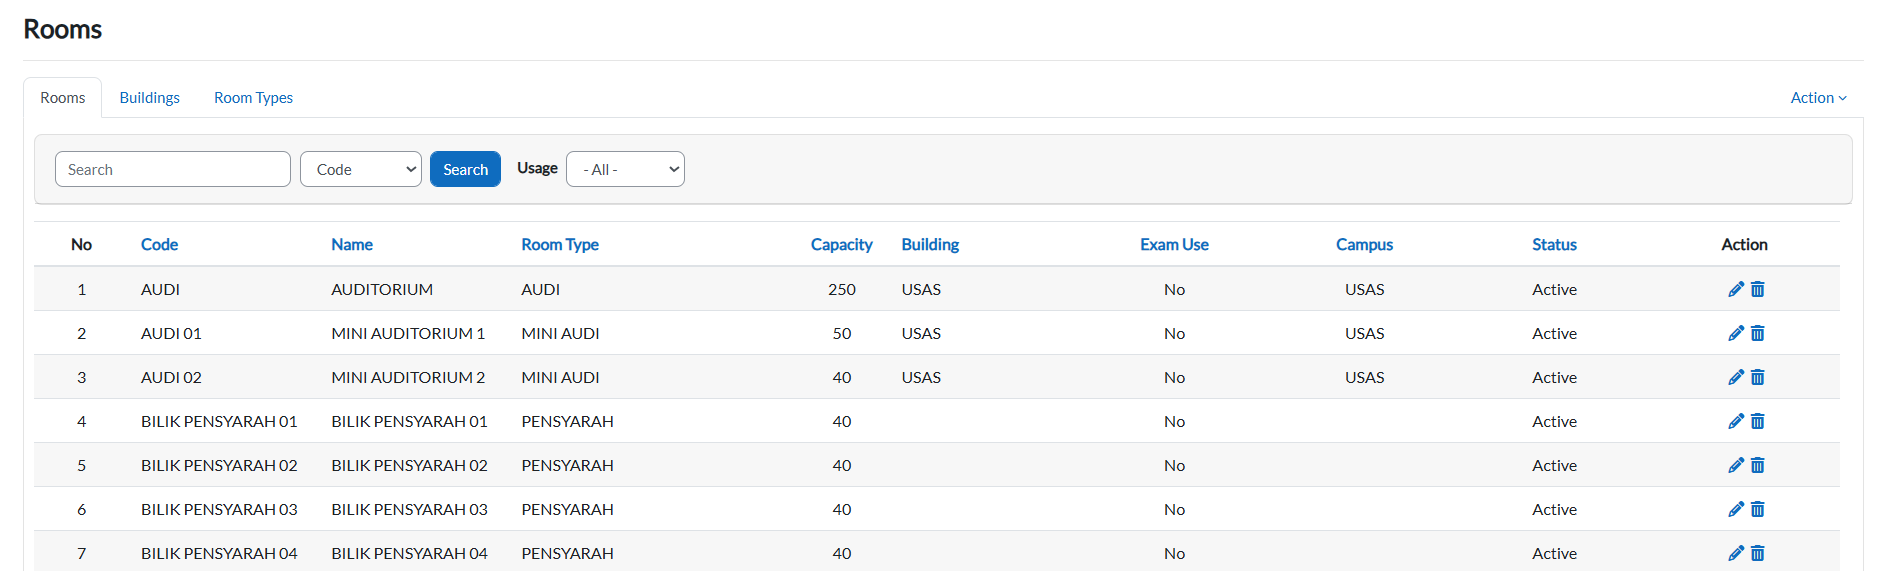
Step 2: Manage Rooms
View and Filter Rooms
-
Click the Rooms sub-tab.
-
The table displays all rooms.
-
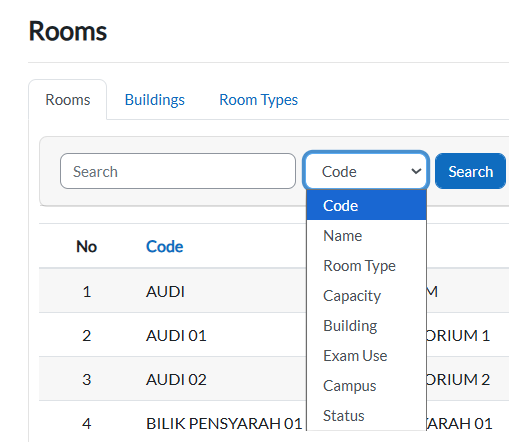
To search by filter:
-
Click the dropdown arrow.
-
Select your criteria and click the Search button.
-
The table updates automatically.
-
Edit a Room
-
Locate the Room
-
Scroll through the table or use filters to find the room you want to edit.
-
-
Open Edit Mode
-
Click the pencil icon in the room's row.

-
-
Edit Room Details
In the edit form, you can modify:-
Required Fields (must be filled):
-
Code
-
Capacity
-
-
Optional Fields:
-
Building
-
Name (English)
-
Name (Alternate)
-
Room Number
-
Level
-
Room Type
-
Usage
-
Exam use
-
Gender
-
Status
-
Campus
-
-
-
Save Changes
-
Click Save Changes to confirm updates.
-
Click Cancel to discard changes.
-
Add a New Room
-
Open the Add Form
-
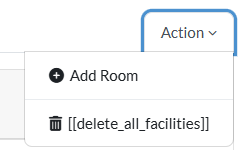
Click the Action dropdown button in the top-right corner.
-
Select Add Room.
-
-
Fill in Room Details
-
Required Fields (marked with !):
-
Building
-
Code
-
Room Type
-
Capacity
-
-
Optional Fields:
-
Name (English)
-
Name (Alternate)
-
Room Number
-
Level
-
Usage
-
Exam Use
-
Gender
-
Status
-
Campus
-
-
-
Submit or Cancel
-
Click Save Changes to add the room.
-
Click Cancel to discard the form.
-
Step 3: Manage Buildings
View Buildings
-
Click the Buildings sub-tab.
-
The table list all buildings.

Edit a Building
-
Locate the building in the table and click the pencil icon
-
In the Update Building form, modify:
-
Required Fields:
-
Code
-
Name (English)
-
-
Optional Fields:
-
Name (Alternate)
-
Usage
-
Gender
-
Status
-
Campus
-
-
-
Click:
-
Save changes to confirm.
-
Cancel to discard.
-
Add a Building
-
Click the Add Building button (top-right of the table).
-
Fill in:
-
Required Fields:
-
Code
-
Name (English)
-
-
Optional Fields:
-
Name (Alternate)
-
Usage
-
Gender
-
Status
-
Campus
-
-
-
Click:
-
Save Changes to add.
-
Cancel to abort.
-
Step 4: Manage Room Types
View/Edit Room Types
-
Click the Room Types sub-tab.
-
To edit:
-
Click the pencil icon
-
Update the room type.
-
Click Save Changes
-
Add a Room Type
-
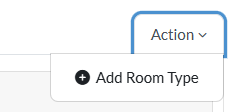
Click Add Room Type on Action button.
-
Enter the room type.
-
Click Save Changes.