1. Setting up Timetable Structure
1.2. Room List

Diagram 1.2.1 Location of the Room List
To go to the Room List, you may click the Room List section next to the Time Structure.
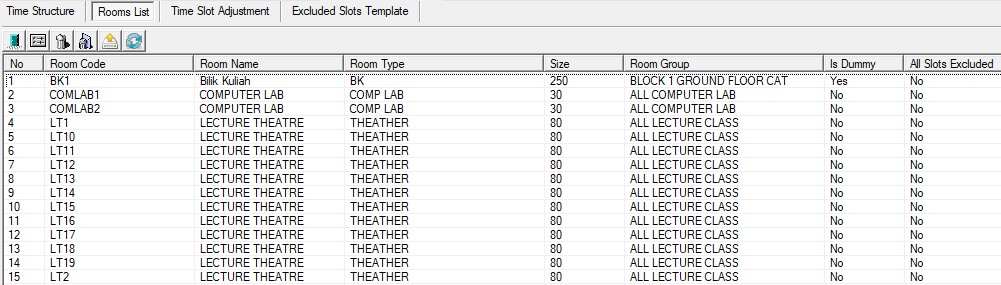
Diagram 1.2.2 Room List
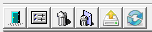
There are few icons that need to be studied before adding the room into Room List.
 |
Click this icon to add new room. |
 |
Click this icon to see room properties. |
 |
Click this icon to delete the room. |
 |
Click this icon to delete all the rooms. |
 |
Click this icon to export rooms. |
 |
Click this icon to refresh Room List. |
1. Add New Room
.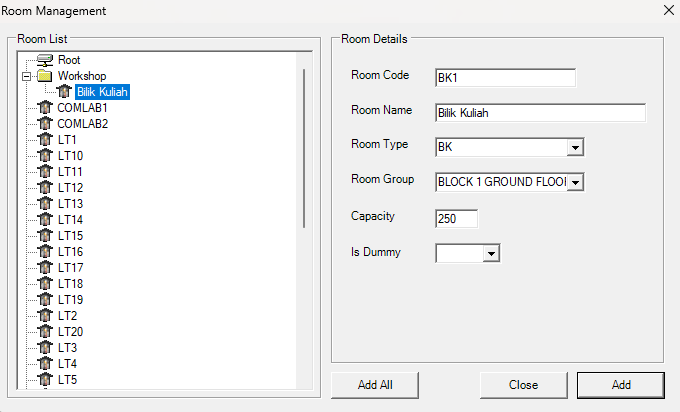
Diagram 1.2.3 Room Management Window
To add only one room, you may select the desired room and click Add.
To add all room, you may select Add All and it will automatically add all available room.
2. Room Properties

Diagram 1.2.4 Select A Room
To view the room properties, you may select a room in the list. Click on the Room Properties icon.
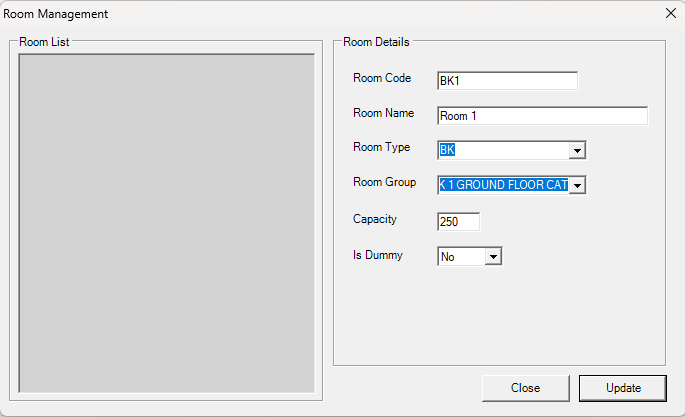
Diagram 1.2.5 Room Properties
A Room Properties window will appear and you will be able to see the room's details.
3. Delete Room
To delete room, you may select a room in the list. Click on the Delete Room icon.
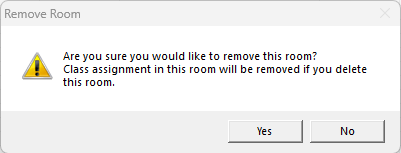
Diagram 1.2.6 Delete Room Pop-up
A delete pop-up will appear asking for confirmation on deletion.
4. Delete All Room
To delete all room, you may select a room in the list. Click on the Delete All Room icon.
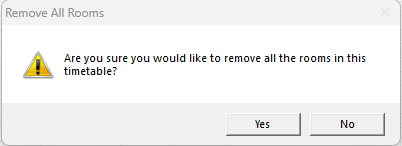
Diagram 1.2.7 Delete All Room Pop-up
A delete pop-up will appear asking for confirmation on deletion.
5. Export Room
To export room, you may click on the Export Rooms icon.
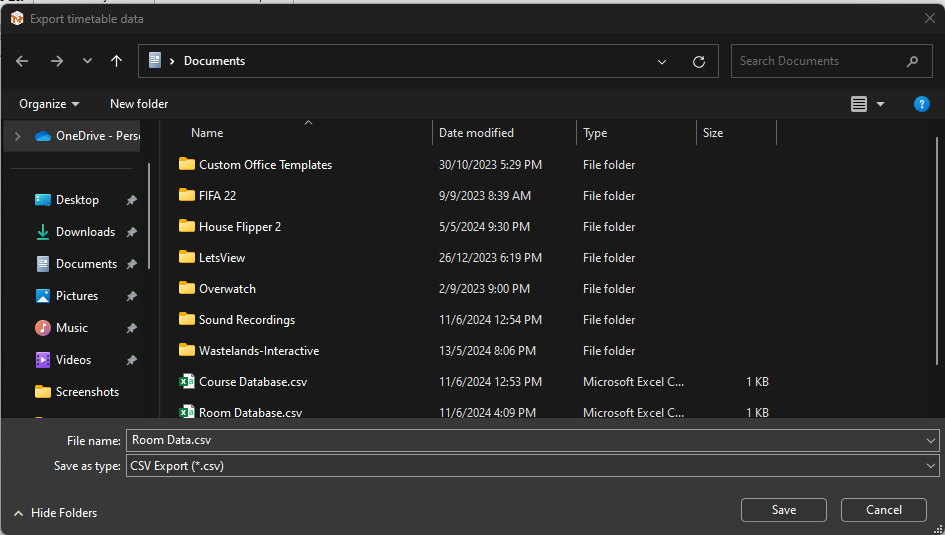
Diagram 1.2.8 Export Window Pop-Up
Select your desired place to save. And click Save button.
4. Refresh Room List
icon.