1. Setting up Timetable Structure
1.1. Time Structure

Diagram 1.1.1 Location of the Time Structure
To setting up the Time Structure, there are 3 simple steps.
STEPS 1: Go to Timetable Structure and select Time Structure.
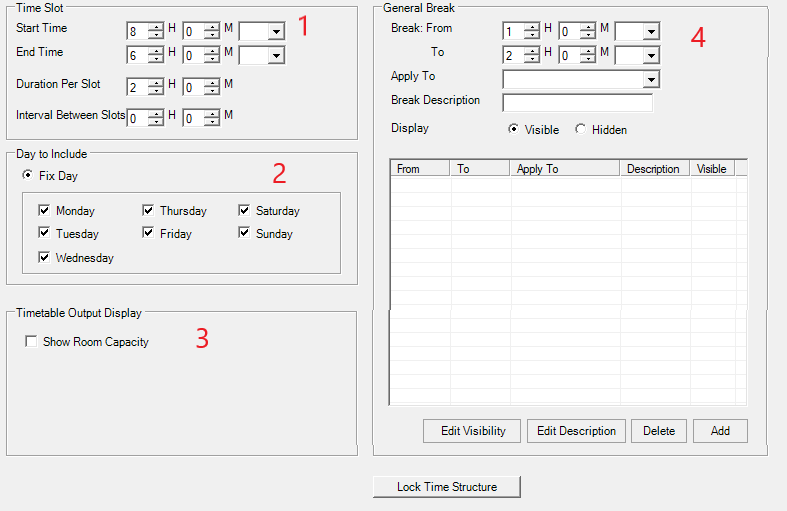
Diagram 1.1.2 Time Structure Window
STEPS 2: Fill in all the sections. Sections has been divided into below.
1. Time Slot
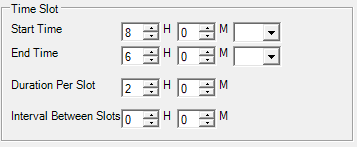
Diagram 1.1.3 Time Slot Section
For better understanding, refer to the table below.
|
Start Time |
time of the ending time of the day in the schedule.
|
|
End Time |
time of the ending time of the day in the schedule. |
|
Duration Per Slot |
time taken for each slots or subjects in the timetable. |
|
Interval Between Slot |
the space between the previous slot and the next slot. |
Table 1.1.1 Time Slot Explaination
2. Day to Include
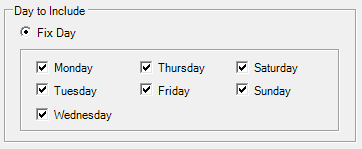
Diagram 1.1.4 Day to Include Section
Day to Include is the day that you want to include in your timetable output. Tick the box of the preferred day to include. Tick Fix Day if you want the day to always be fixed for the whole timetable output.
3. Timetable Output Display
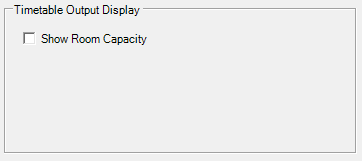
Diagram 1.1.5 Timetable Output Display Section
If you want to Show Room Capacity to be added into the output, tick Show Room Capacity and apply changes.
4. General Break
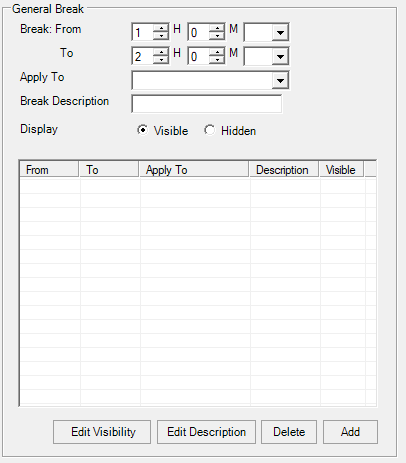
Diagram 1.1.6 General Break Section
General Break is where you will need to add break for the whole week so that the there will be slots for it. You may choose the break time to be apply into All Day or any of your preferred day. Below is the example of added break time.
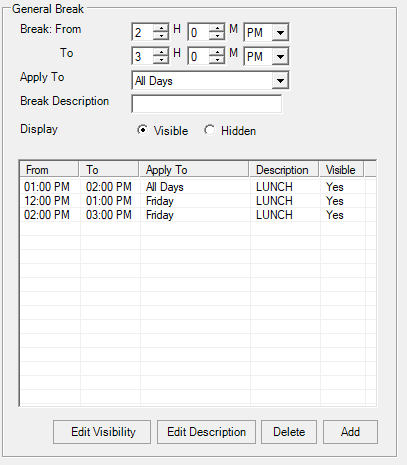
Diagram 1.1.7 Example Added General Break Section
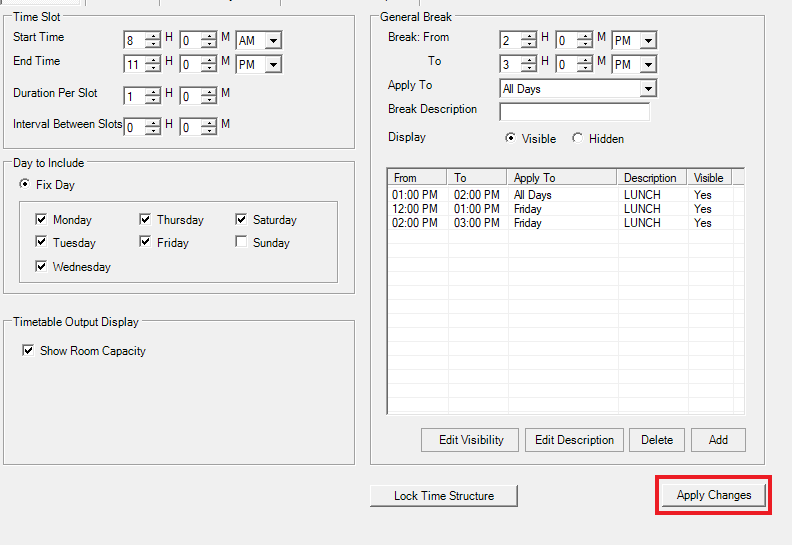
Diagram 1.1.8 Apply Changes in the Timetable Structure
For the Lock Time Structure, you may click the button if you want the time structure to be locked and cannot be changed.