3. Add, Edit and Delete in Database
3.2. Batch
In this subchapter, we will learn on how to Add, Edit and Delete Batch in Batch Management.
1. Add Batch
To add batch in Batch Management, there are 3 simple steps.
STEPS 1: To Add new batch, click on the icon Add Batch. ![]()
STEPS 2: Once you have clicked the icon, a pop up will appear.

Diagram 3.2.1 Add Batch Popup
To fill in the details, refer to the table below.
|
Batch |
Name for the batch. Batch name is compulsory and cannot be duplicated. Example : CS110B1 (CS110 Batch 1) |
|
Department |
Department of the Batch. |
Table 3.2.1 Batch Details Explanation
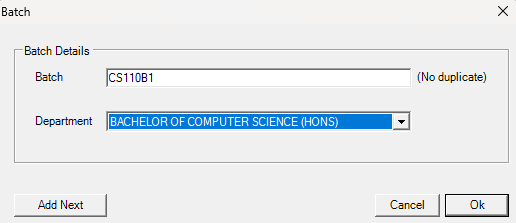
Diagram 3.2.2 Filled batch details
STEPS 3: Click Ok once finished.
To search for the batch that has been added, simply click CTRL + F and search your preferred batch.
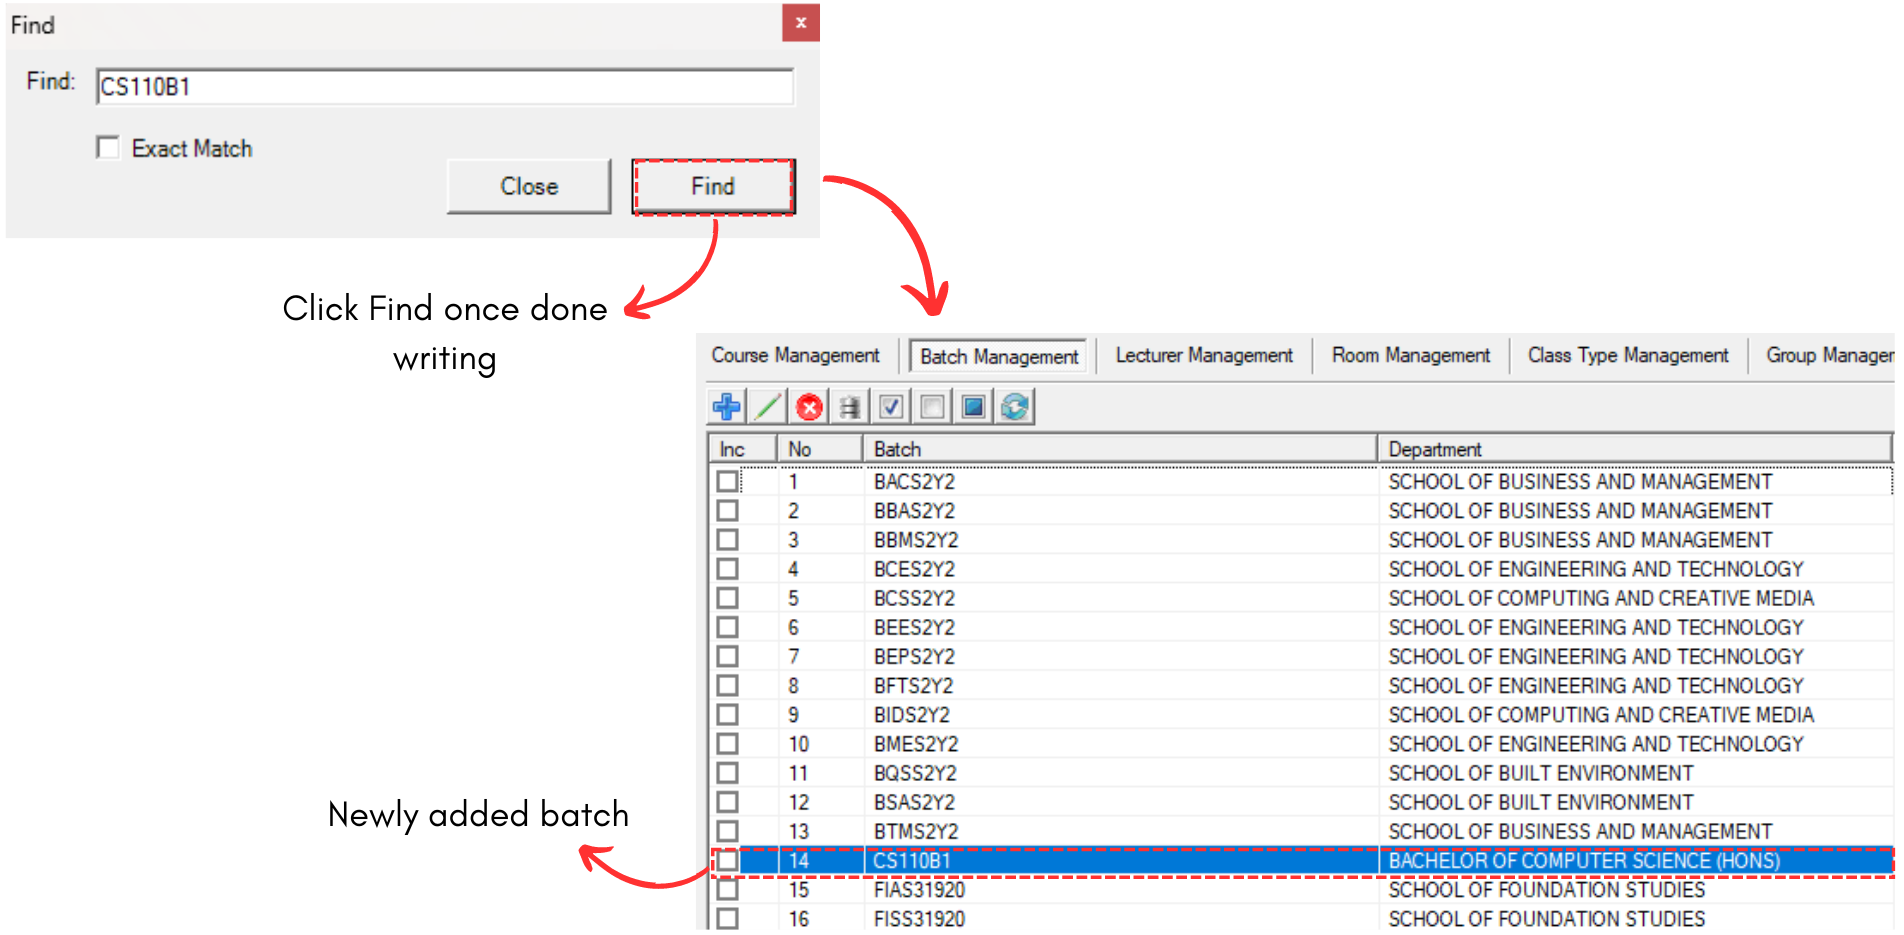
Diagram 3.2.3 Search the Batch
2. Edit Batch
To edit batch in Batch Management, there are 4 simple steps.
STEPS 1: To edit batch, you can simply choose the batch that you want to edit and click Edit Batch Icon  OR double click the selected batch.
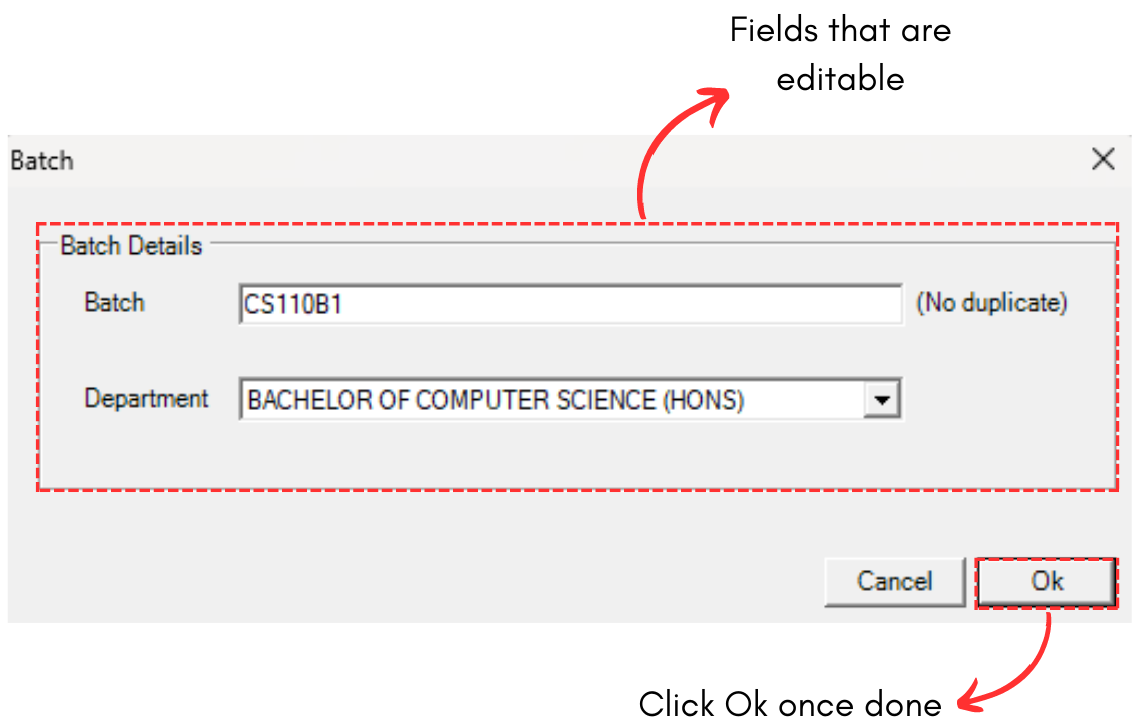
Diagram 3.2.4 Editable Fields
STEPS 3: Edit the Batch Details. For Example, we change from CS110B1 to CS110B2
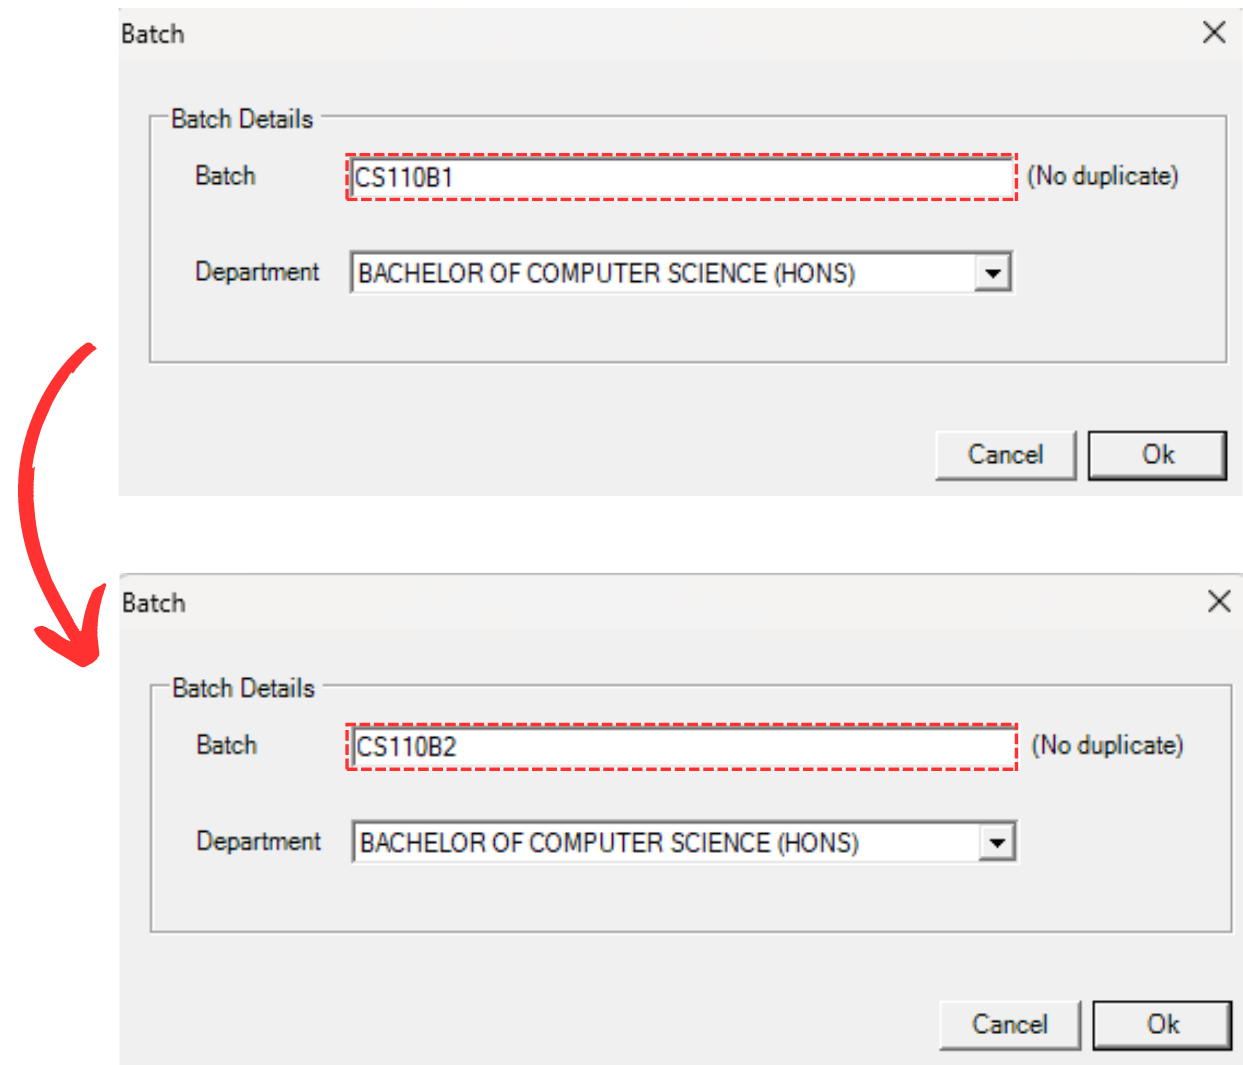
Diagram 3.2.5 Changed Batch Name
STEPS 4: Click Ok once done. Below is how it would look like once changed.
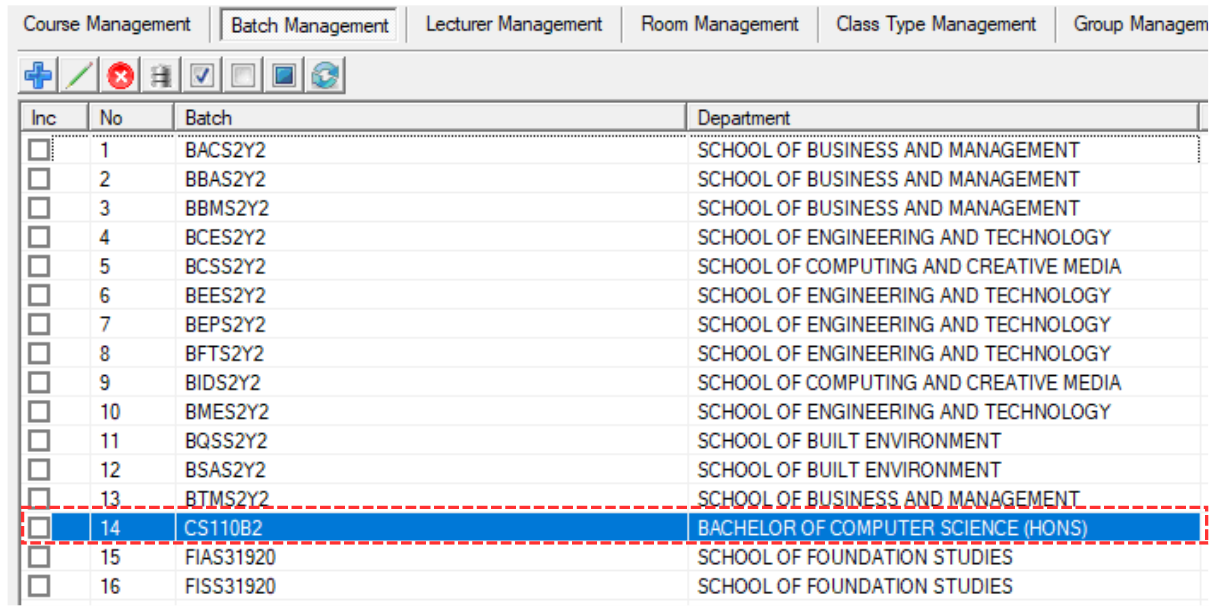
Diagram 3.2.6 Updated Batch Details
3. Delete Batch
To delete, you can simply refer to the picture below.
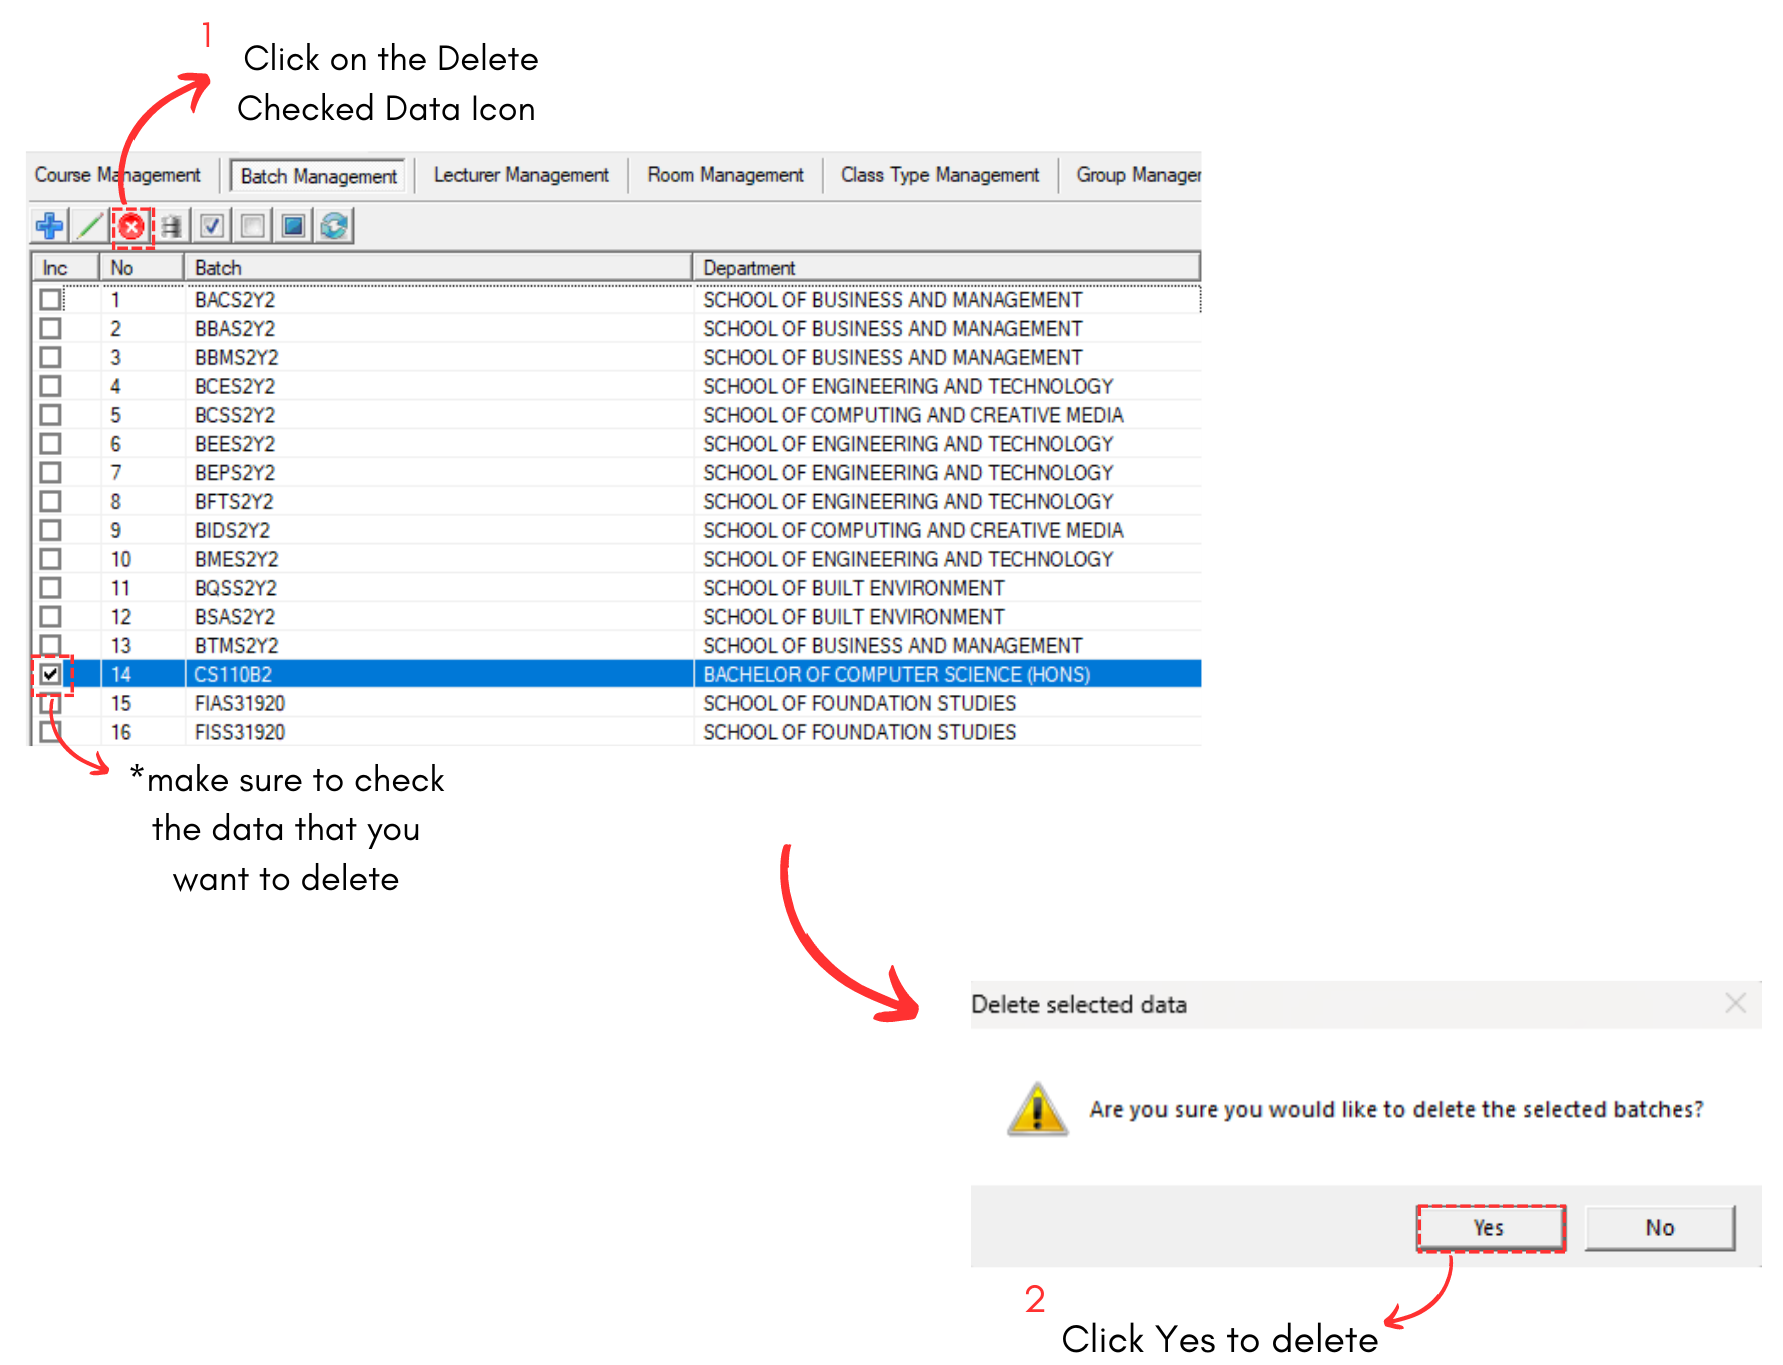
Diagram 3.2.7 Steps on How to Delete Batch