Stage 10: Printing and Export Process
| Site: | Timetable Plus |
| Course: | Timetable Plus Class Infinity |
| Book: | Stage 10: Printing and Export Process |
| Printed by: | Guest user |
| Date: | Monday, 1 June 2026, 4:35 AM |
1. Printing
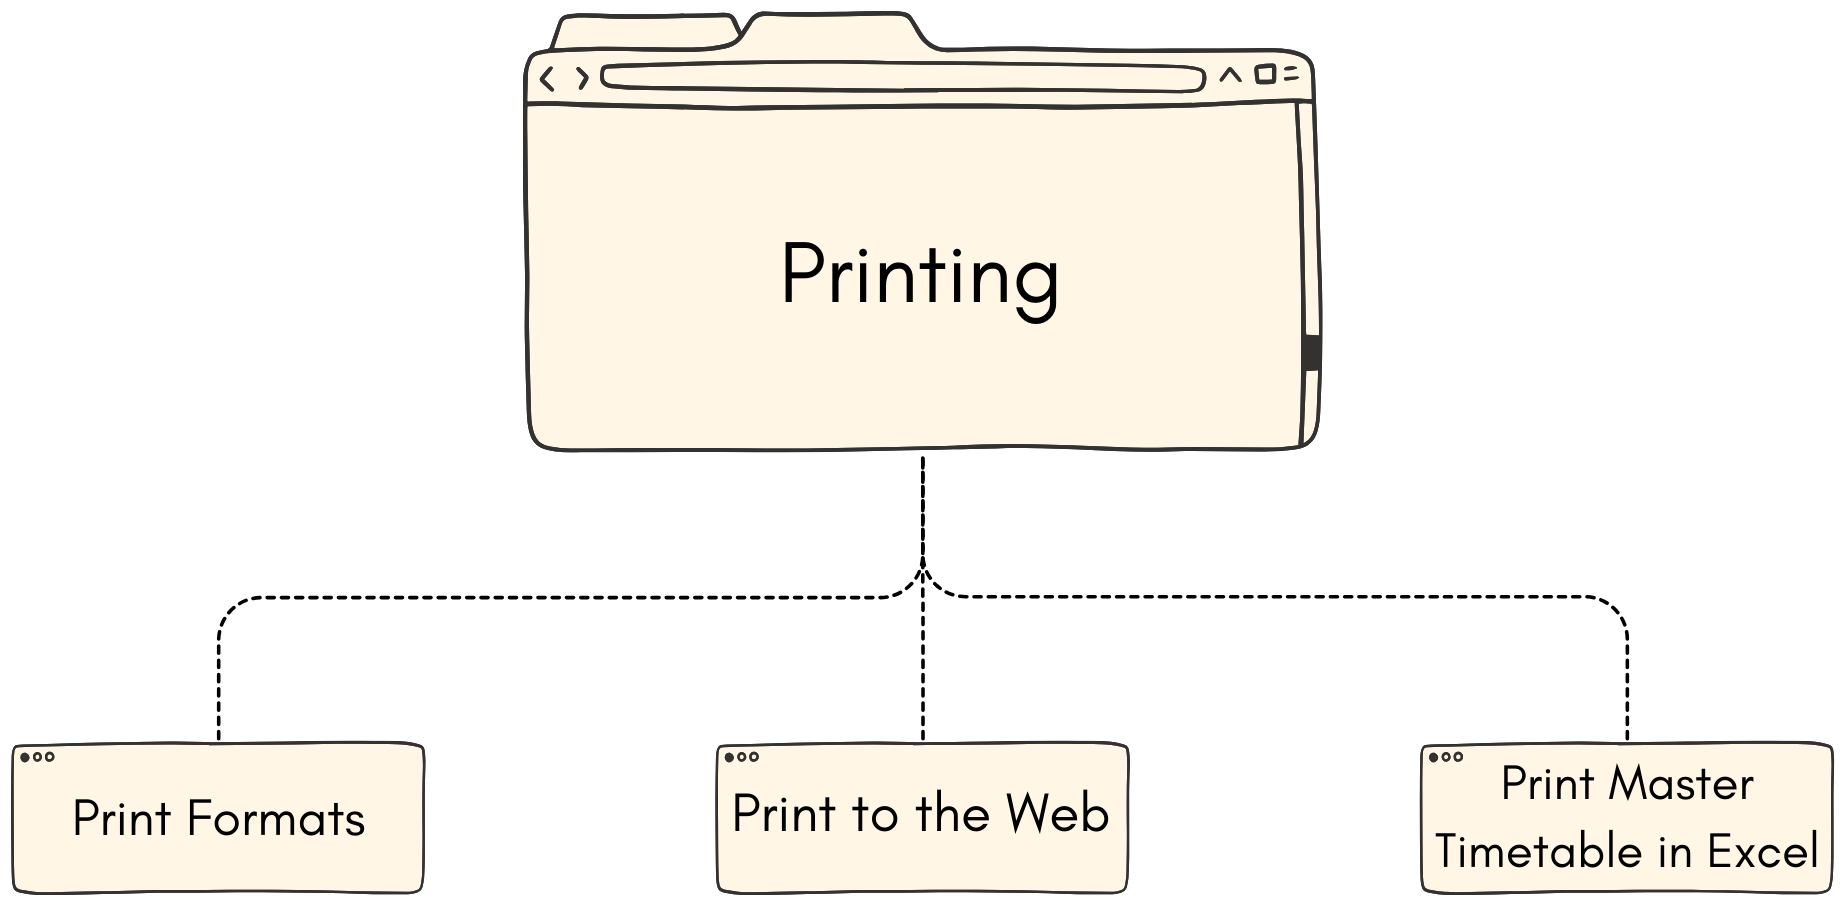
After generating the timetable output, you can do the printing for the students or lecturers to view.
1.1. Print Formats
Before printing, you are able to customize the printing formats in Preview & Printing Tab.
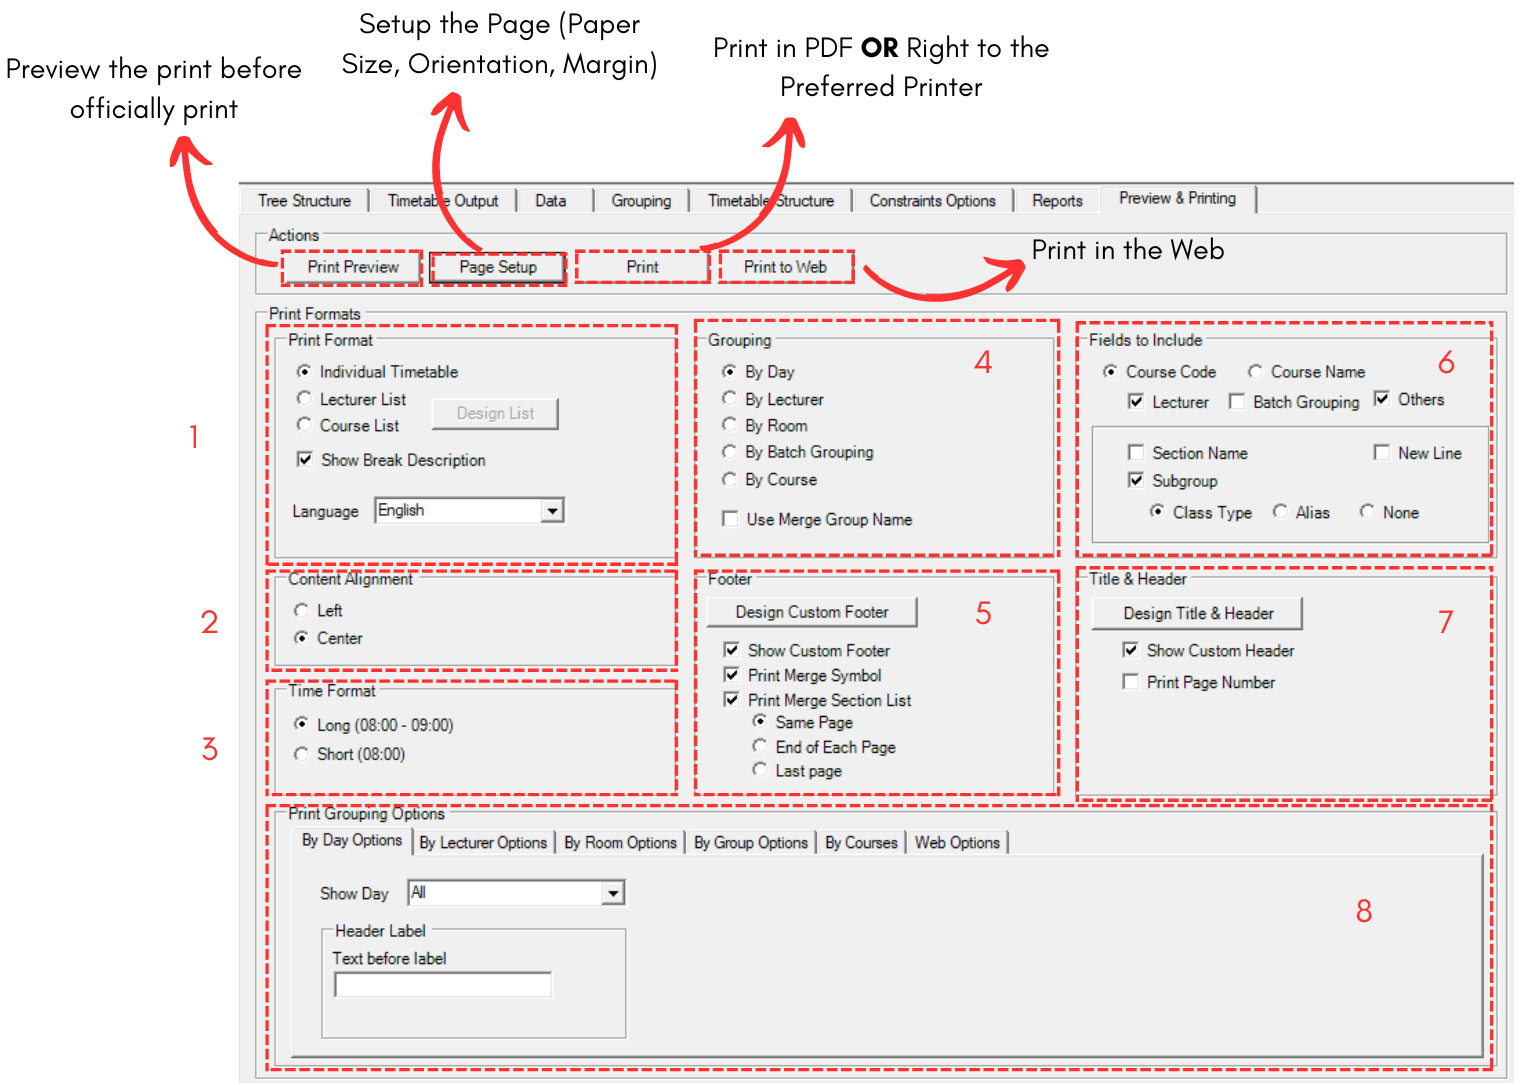
Fill in all the sections. Sections has been divided into below.
1. Print Format
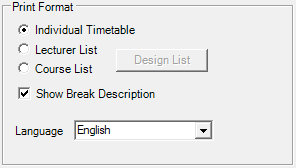
Diagram 1.1.2 Print Format
For Print Format, you are able to choose to print Individual Timetable, Lecturer List or Course List.
For Lecturer and Course List, you are able to click on Design List button  to include items inside the list. refer to the picture below to see Design List window.
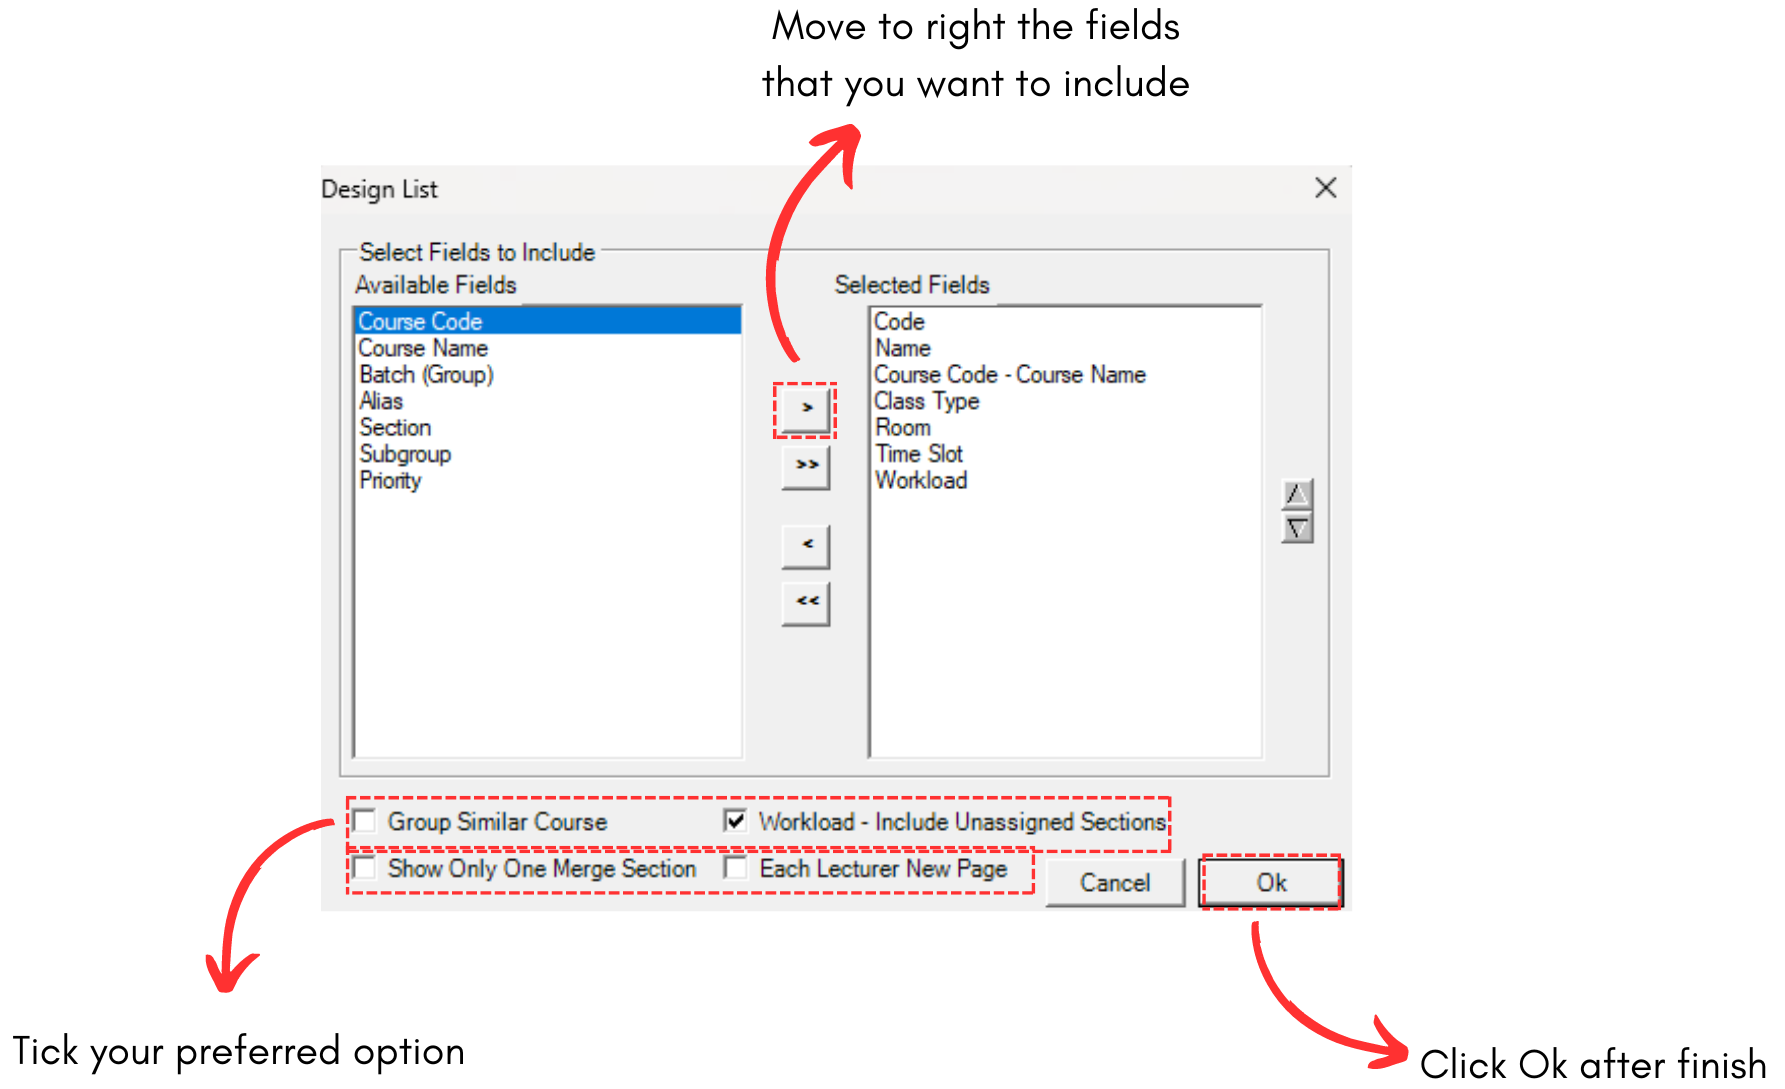
Diagram 1.1.3 Design List on Lecturer List

Diagram 1.1.4 Design List on Course List
For Lecturer, you able to hide or show lecturers by clicking the Hide and Show Lecturers. 

Diagram 1.1.5 Hide and Show Lecturers
2. Content Alignment
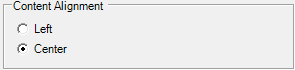
Diagram 1.1.6 Content Alignment
You may choose to have your content on left side or center.
3. Time Format

Diagram 1.1.7 Time Format
You may choose to have your content to have time format of long (begin and end time) or short (begin only)
4. Grouping
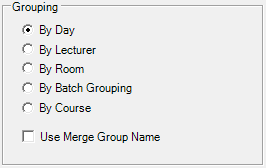
Diagram 1.1.8 Grouping
You can have your content to be printed by day, lecturer, room, batch grouping or course. If you want to use merge group name in the content, tick Use Merge Group Name.
5. Footer
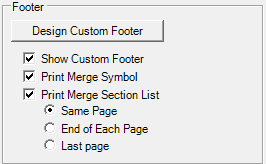
Diagram 1.1.9 Footer
Footer is located at the bottom of your printed content page. You may tick your preferred option and if you want to write text on footer, click Design Custom Footer. 

Diagram 1.1.10 Custom Footer Design
6. Fields to include
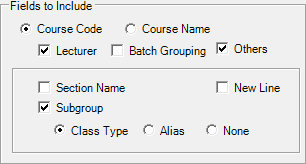
Diagram 1.1.11 Fields to Include
You may choose fields to include in your printed timetable by ticking your preferred option.
7. Title & Header

Diagram 1.1.12 Title & Header
You may include Title & Header at the top of your printed content. And if you want to customize it, you may click the button Design Title & Header. 
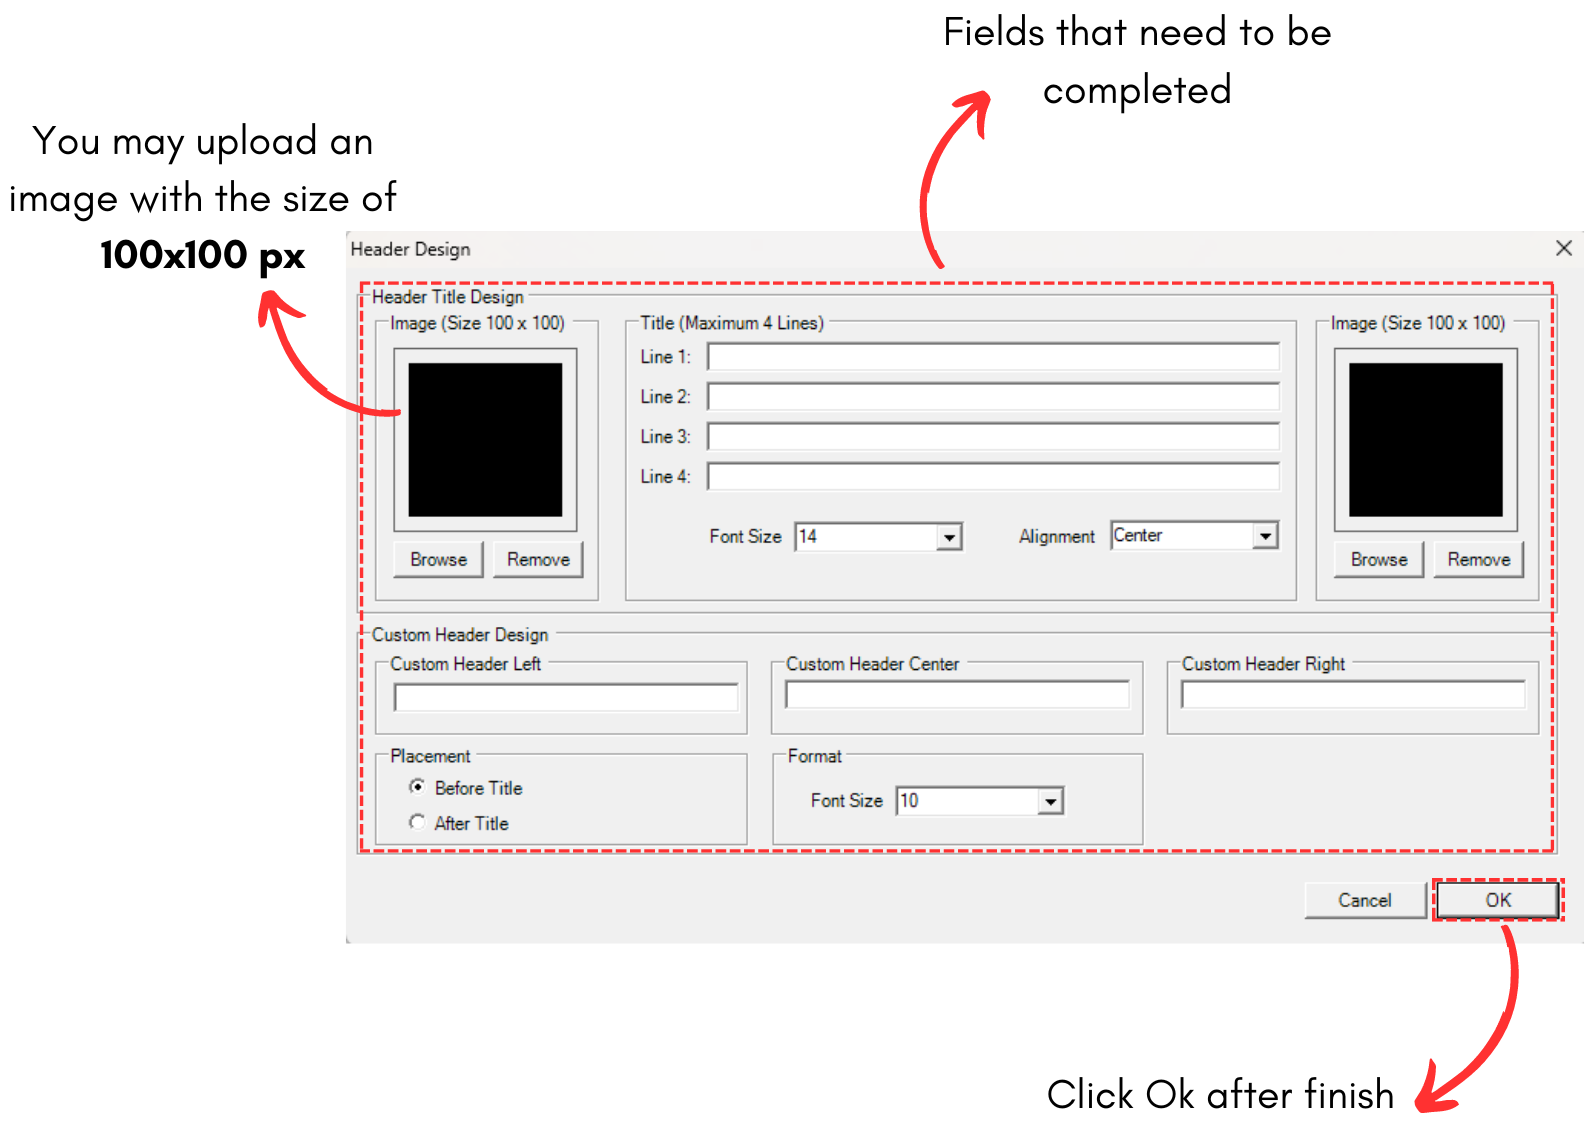
Diagram 1.1.13 Header Design
8. Printing Grouping Options.
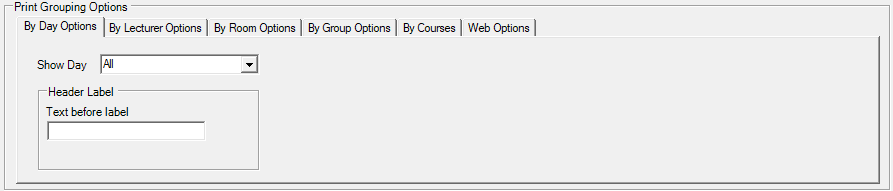
Diagram 1.1.14 Printing Grouping Options
Printing Grouping Options is the option for the Grouping that you have selected above. You may customize your preferred grouping. Below are all of the Printing Grouping Options.
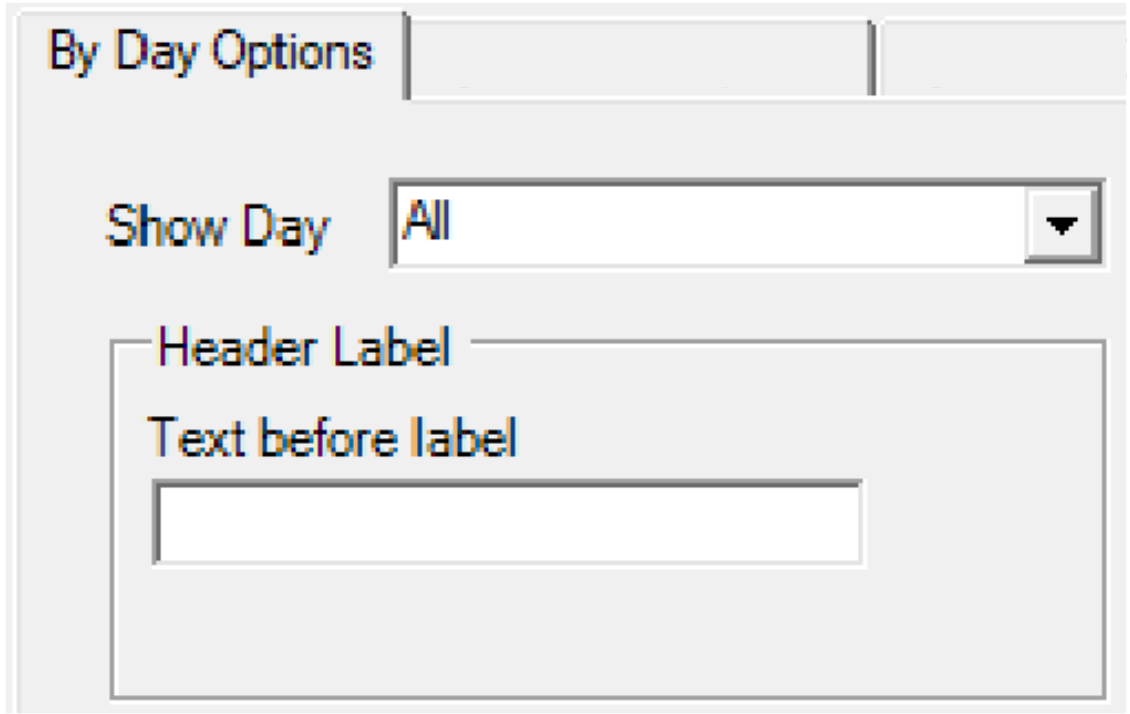
Diagram 1.1.15 By Day Options

Diagram 1.1.14 By Lecturer Options
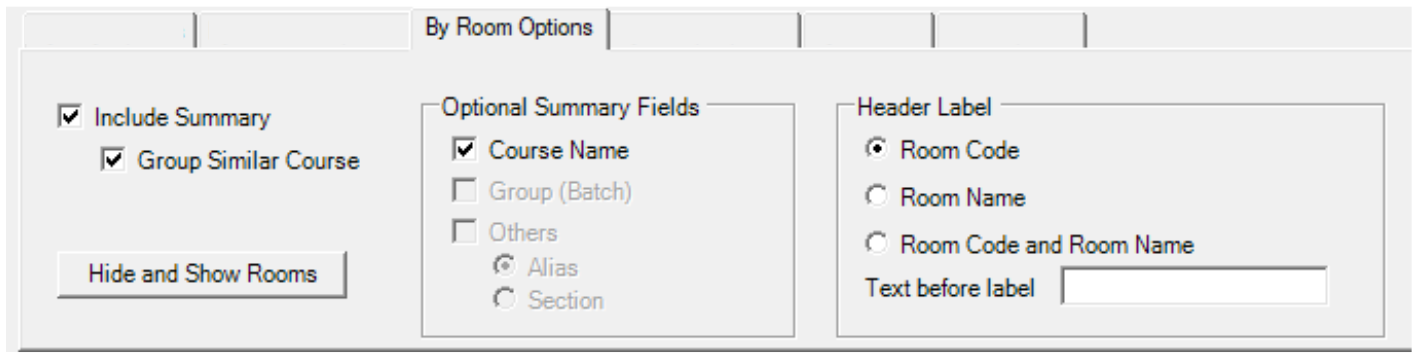
Diagram 1.1.16 By Room Options
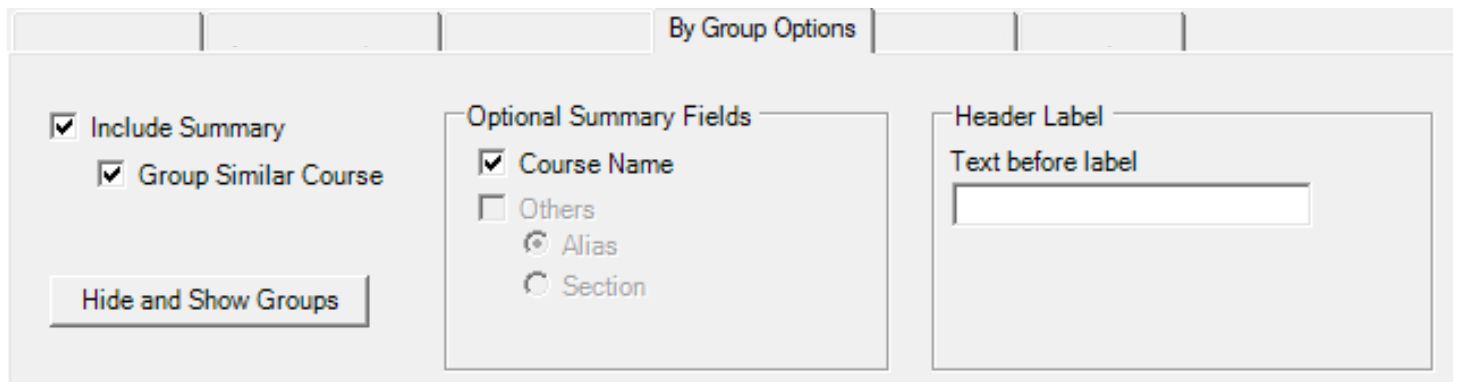
Diagram 1.1.17 By Group Options
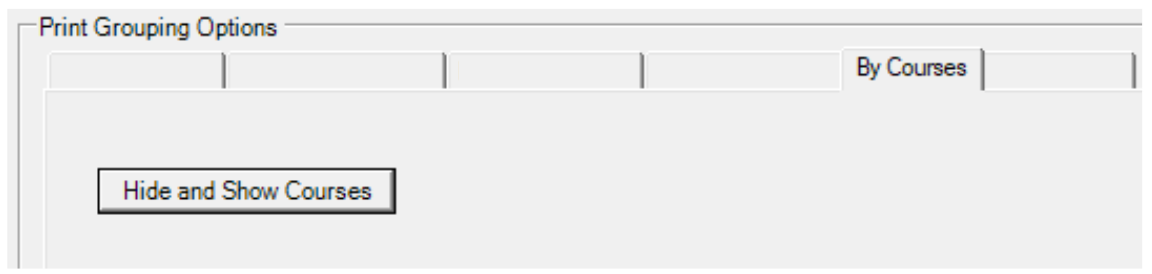
Diagram 1.1.18 By Courses Options
Web Options is the options for Print To Web.

Diagram 1.1.19 Web Options
1.2. Print to the Web
User can use a simple format HTML timetable that can be saved and linked to be view at the Web by clicking Print to Web button

Diagram 1.2.1 Steps to Print To Web
1.3. Print Master Timetable in Excel
User can print Master Timetable only in Excel by clicking at the File Menu and then Export Timetable in Excel.

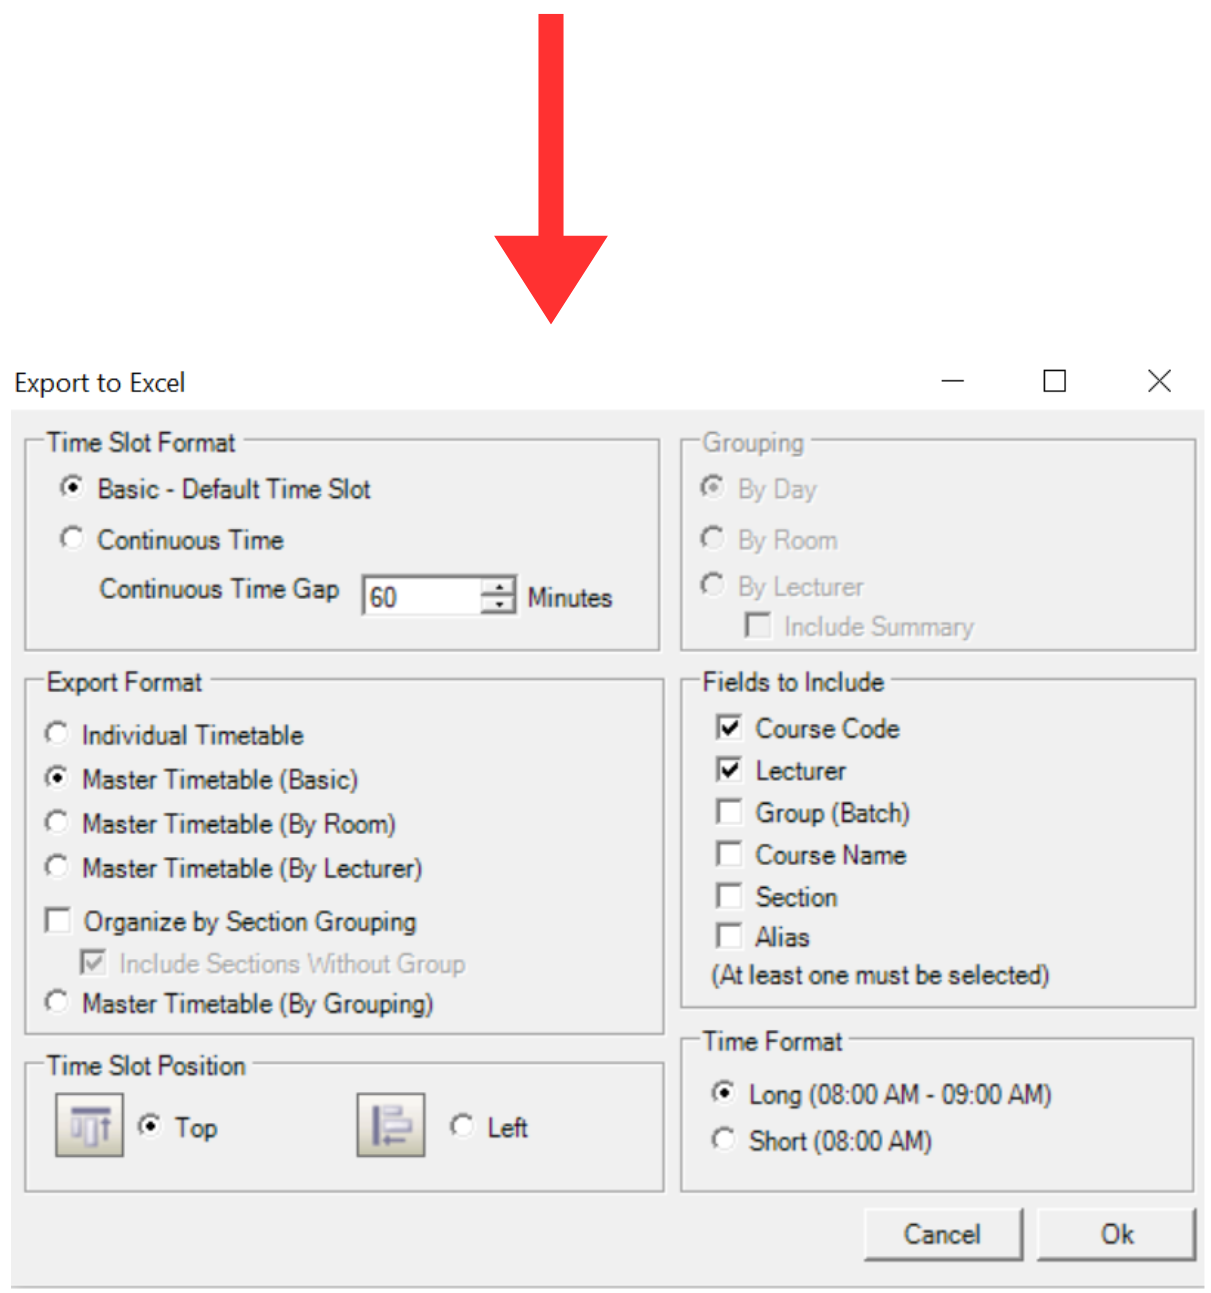
Diagram 1.3.1 Location of Timetable to Print in Excel
2. Export File/CSV/Web/SIS

In Timetable Plus Class, there are 4 export functions:
- Export .TDAT file
- Export CSV format file
- Export to Timetable Plus Web
- Export/Update section to SIS
2.1. Export .TDAT file
You can Export Timetable Plus Class file which has the extension of .TDat and can be open in
another Timetable Plus Class software using the Import function.

Diagram 2.1.1 Location of Exporting Timetable File in TDat Extension
2.2. Export CSV format file
You can export a CSV format file that can then be used for other purpose like database
management.

Diagram 2.2.1 Location of Exporting to CSV
2.3. Export to Timetable Plus Web
You can export the result of the Timetable Output to Timetable Plus Web which is hosted by Timetable Plus and you can even do Web Editing. This is different from the Print to Web at Preview & Printing. This only available to Timetable Plus Class Infiniti.

Diagram 2.3.1 Location on Exporting to Timetable Plus Web
User also need to Export Database to the Web. This is only done ONCE and if there are additional database, it can be done at the Web.
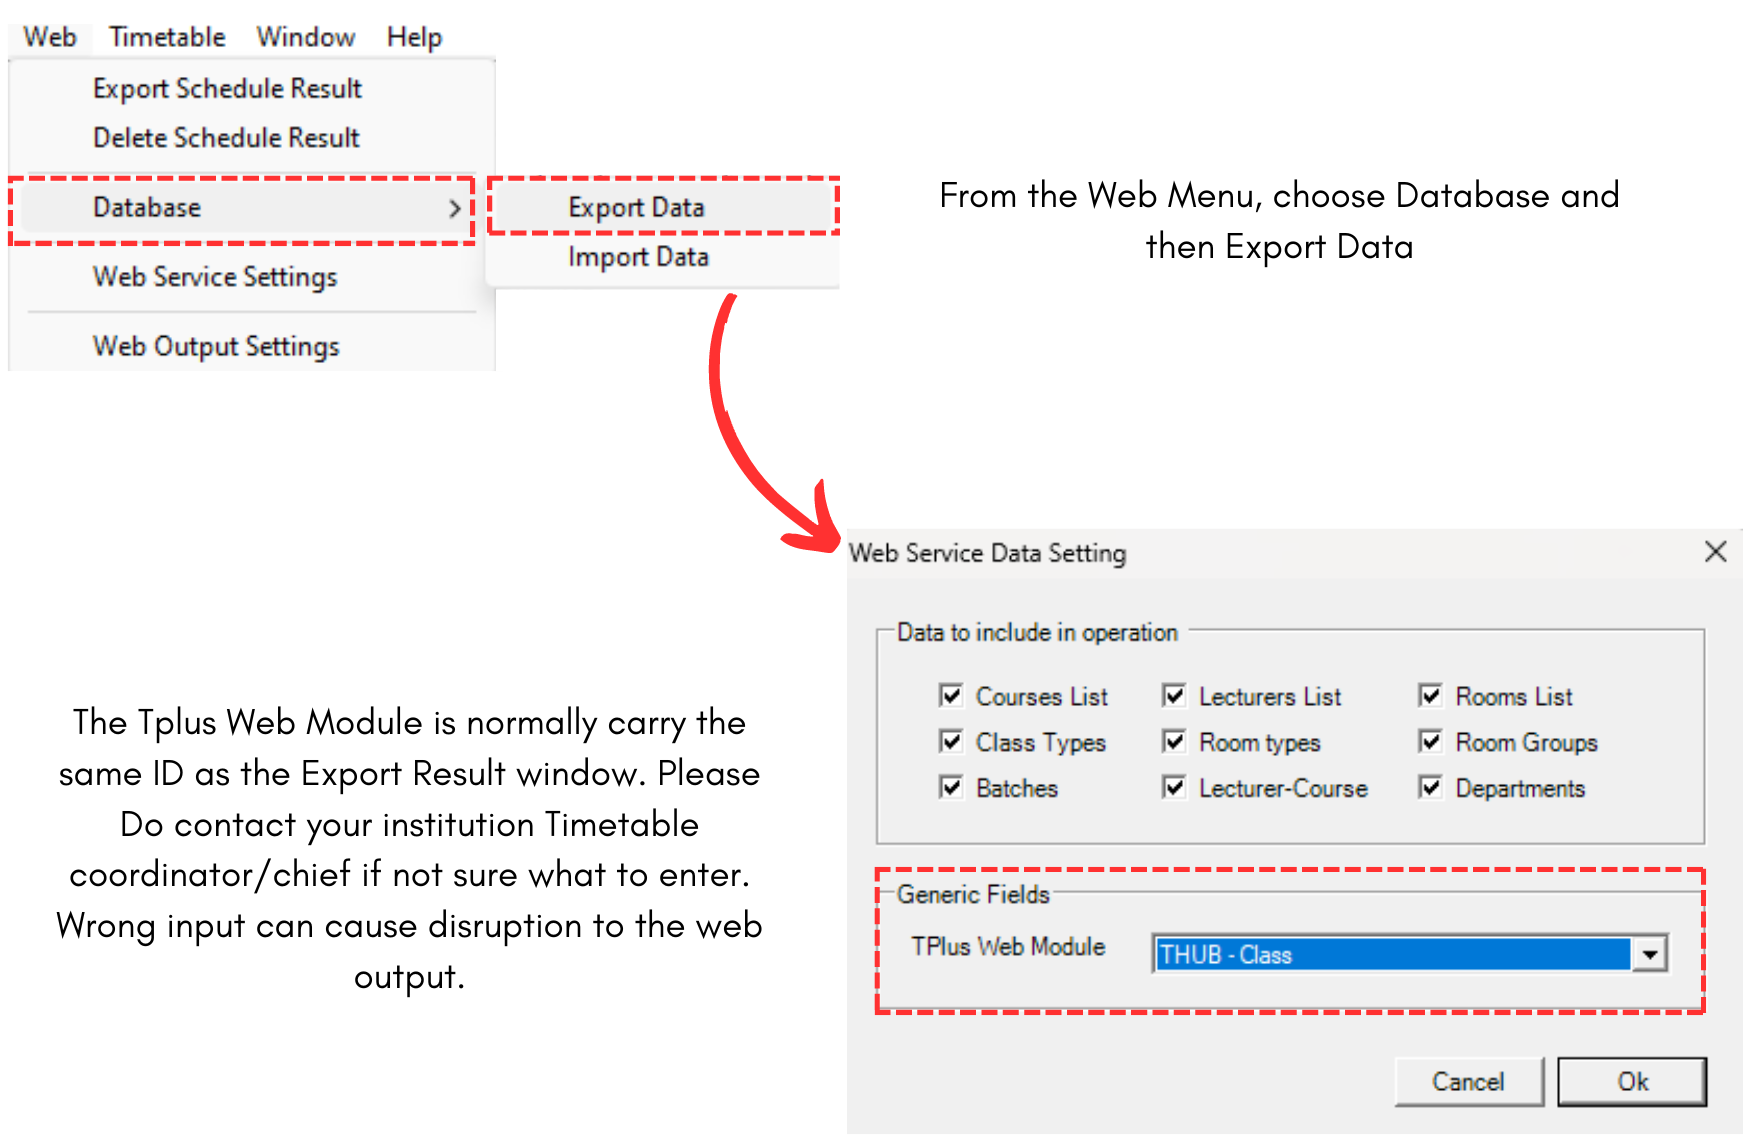
Diagram 2.3.2 Export Database
2.4. Export to SIS T-Plus Campus (Student Information System)
Once you done updating in T-Plus Campus, you may also export/update the section back to T-Plus Campus.
There are 3 simple steps to do so.
STEPS 1: Go to Tree Structure and click Update Section to SIS icon.
STEPS 2: Choose your preferred options.
STEPS 3: Click Ok once done.

Diagram 2.4.1 Steps on Updating Section into T-Plus Campus/SIS