Administration
2. Timeline
Timeline Setting (Timeslot Management)
Accessing the Timeline Settings
-
-
Purpose: The Timeline Settings allow administrators to manage class schedules by adding, editing, or deleting time periods for the academic timetable.
-
Steps to Access:
-
Login to the System: Once logged in, navigate to the Dashboard.
-
Go to Administration: On the left navigation panel, click on Administration.
-
Click on Timeline Settings: Under the Administration section, find and click Timeline Settings.
-
-
Overview of the Timeline Setting Interface
Purpose: The Timeline Settings interface allows administrators to configure the schedule for academic periods, including specifying the start and end times for classes, and setting breaks.
Once you’re in the Timeline Settings page, you’ll see a simple and clean interface with a few key section for managing periods, including adding, editing, or deleting periods for a each day of the week.
2.1 Adding a Period
To add a new period to the timetable:

-
Click on Add Period: You will see a section called Add Period on the left side of the screen. Click the Add Period button.
-
Fill in the Required Information:
-
Day: Select the day of the week you wish to add the period for (e.g., Monday, Tuesday, etc.).
-
Period: Choose the period number (e.g., Period 1, Period 2).
-
Start Time: Set the starting time of the period.
-
End Time: Set the ending time of the period.
-
Is Break: Select Yes if this period is a break, or No if it is a class period.
-
Text: You can add any notes about the period (optional).
-
-
Click Add Period: After filling out the details, click the Add Period button to save the new period to the timetable.
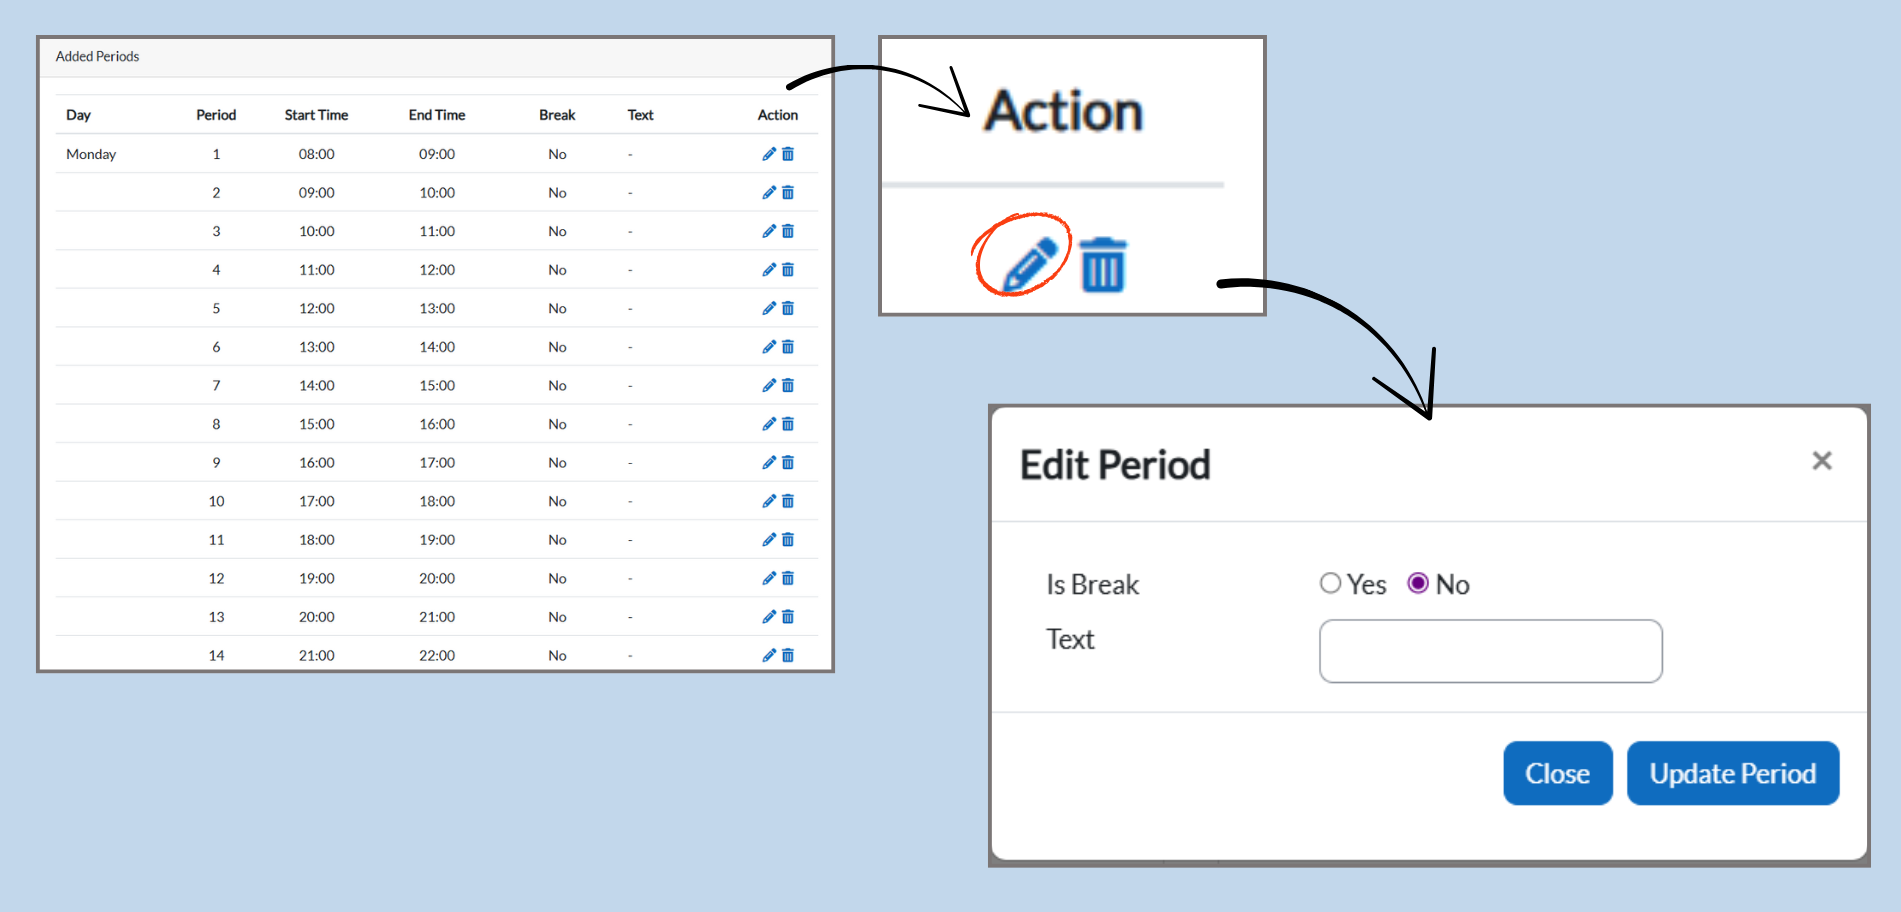
2.2 Editing an Existing Period
To modify an already added period:
-
Find the Period: In the Added Periods table, locate the period you wish to edit.
-
Click the Edit Icon: Next to the period, click on the pencil icon under the Action column.
-
Edit the Period Details: A new window will pop up allowing you to modify:
-
Start Time and End Time.
-
Is Break: You can change the break status here.
-
Text: If necessary, you can modify or add new text.
-
-
Click Update Period: After making the changes, click Update Period to save the edits.
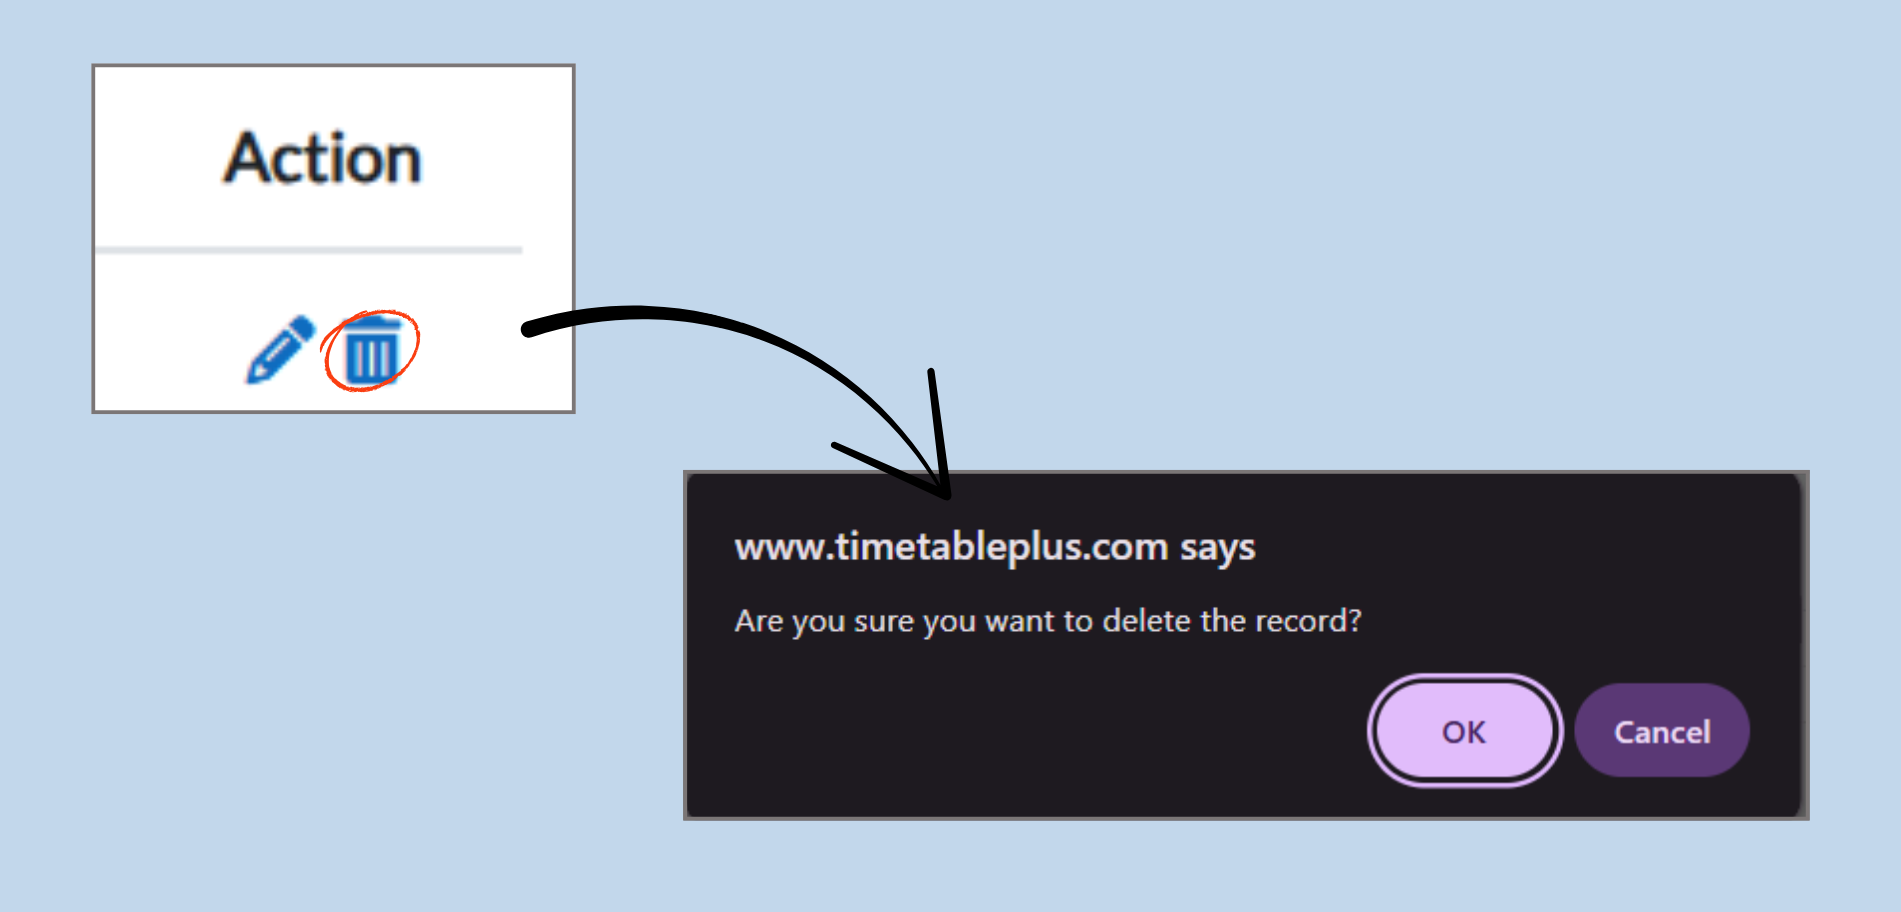
2.3 Deleting a Period
To remove an existing period from the timetable:
-
Locate the Period to Delete: In the Added Periods table, find the period you want to delete.
-
Click the Delete Icon: Next to the period, click on the trash can icon under the Action column.
-
Confirm Deletion: A pop-up will appear asking if you are sure you want to delete the record.
-
Click OK to confirm the deletion.
-
Click Cancel if you wish to keep the period and return to the settings page.
-