Stage 2: Timetable Structure
1. Setting Up Timetable Structure
1.2. Room List
 Diagram 1.2.1 Location of Room List
Click Timetable Structure and click Room List to add Room List in Timetable Output
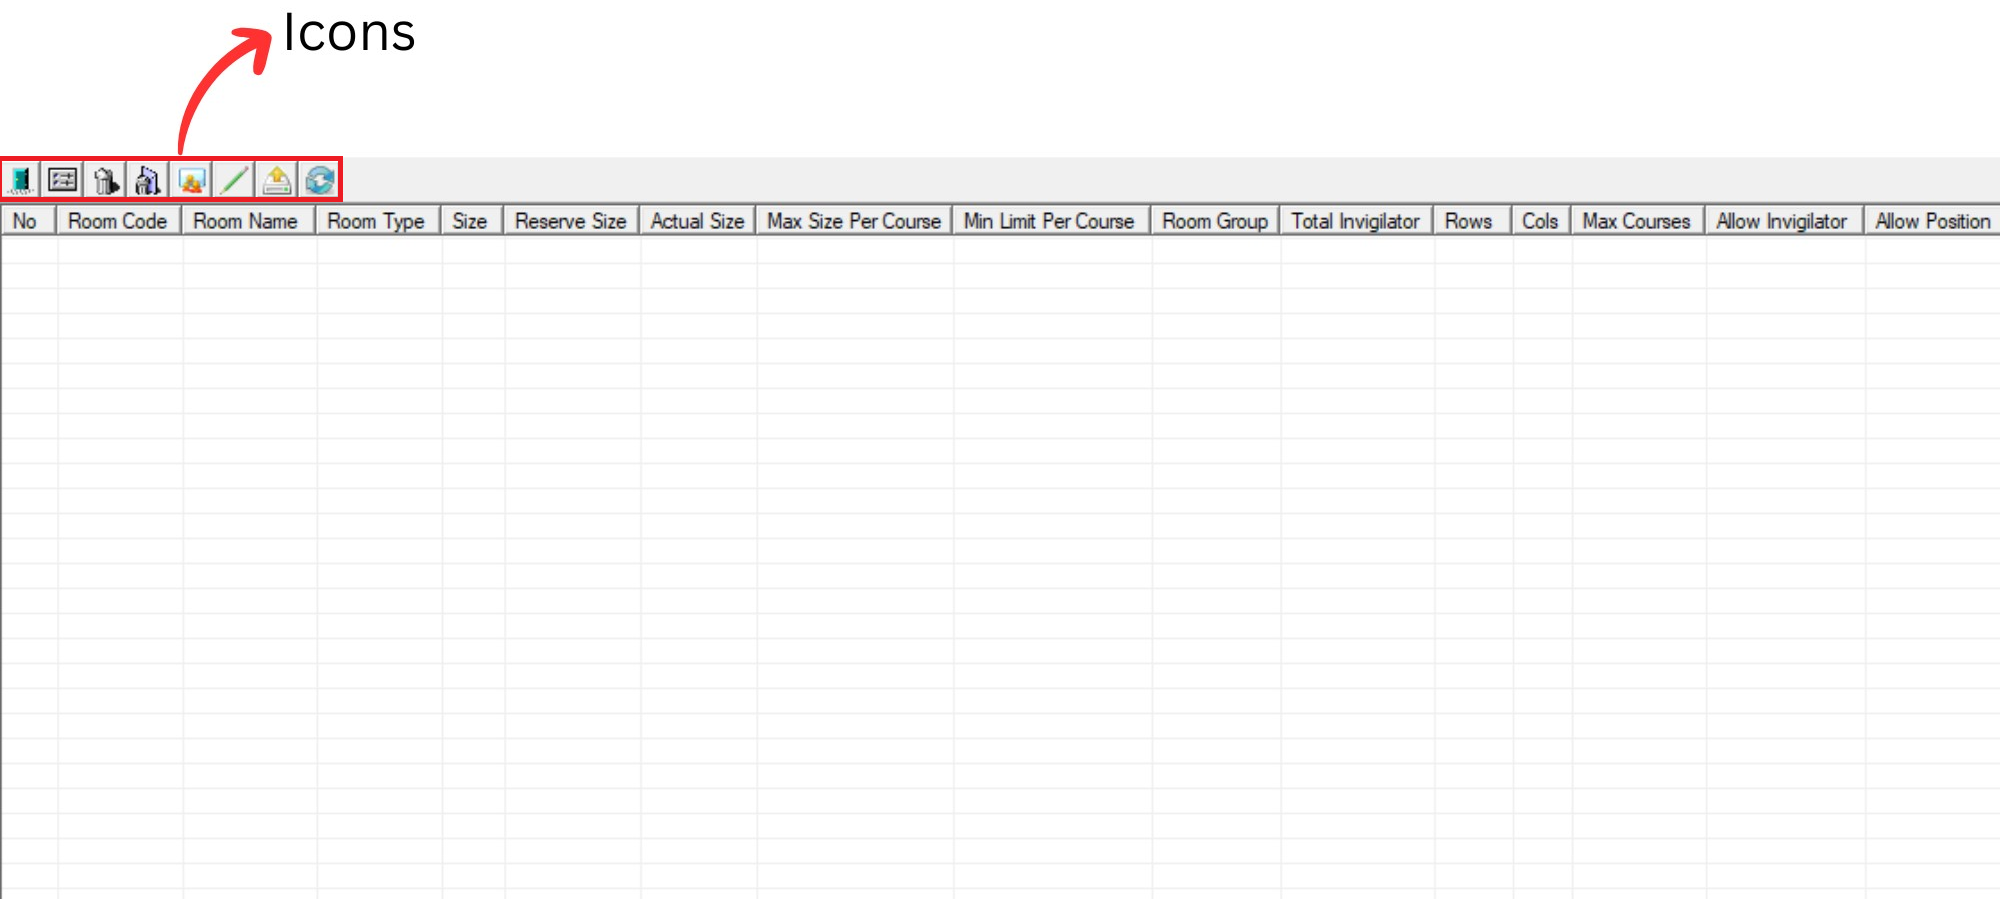
Diagram 1.2.2 Room List Window
Inside Room list window, you will be able to see icons on the top left side.

 |
Click this icon to add new room. |
  |
Click this icon to view room properties. |
  |
Click this icon to delete room. |
  |
Click this icon to delete all rooms. |
  |
Click this icon to auto assign room seating arrangement |
  |
Click this icon to update all room field. |
  |
Click this icon to export rooms. |
 |
Click this icon to refresh room list. |
1. Adding Room List In Timetable Output
To add Room, click on Add New Room icon .
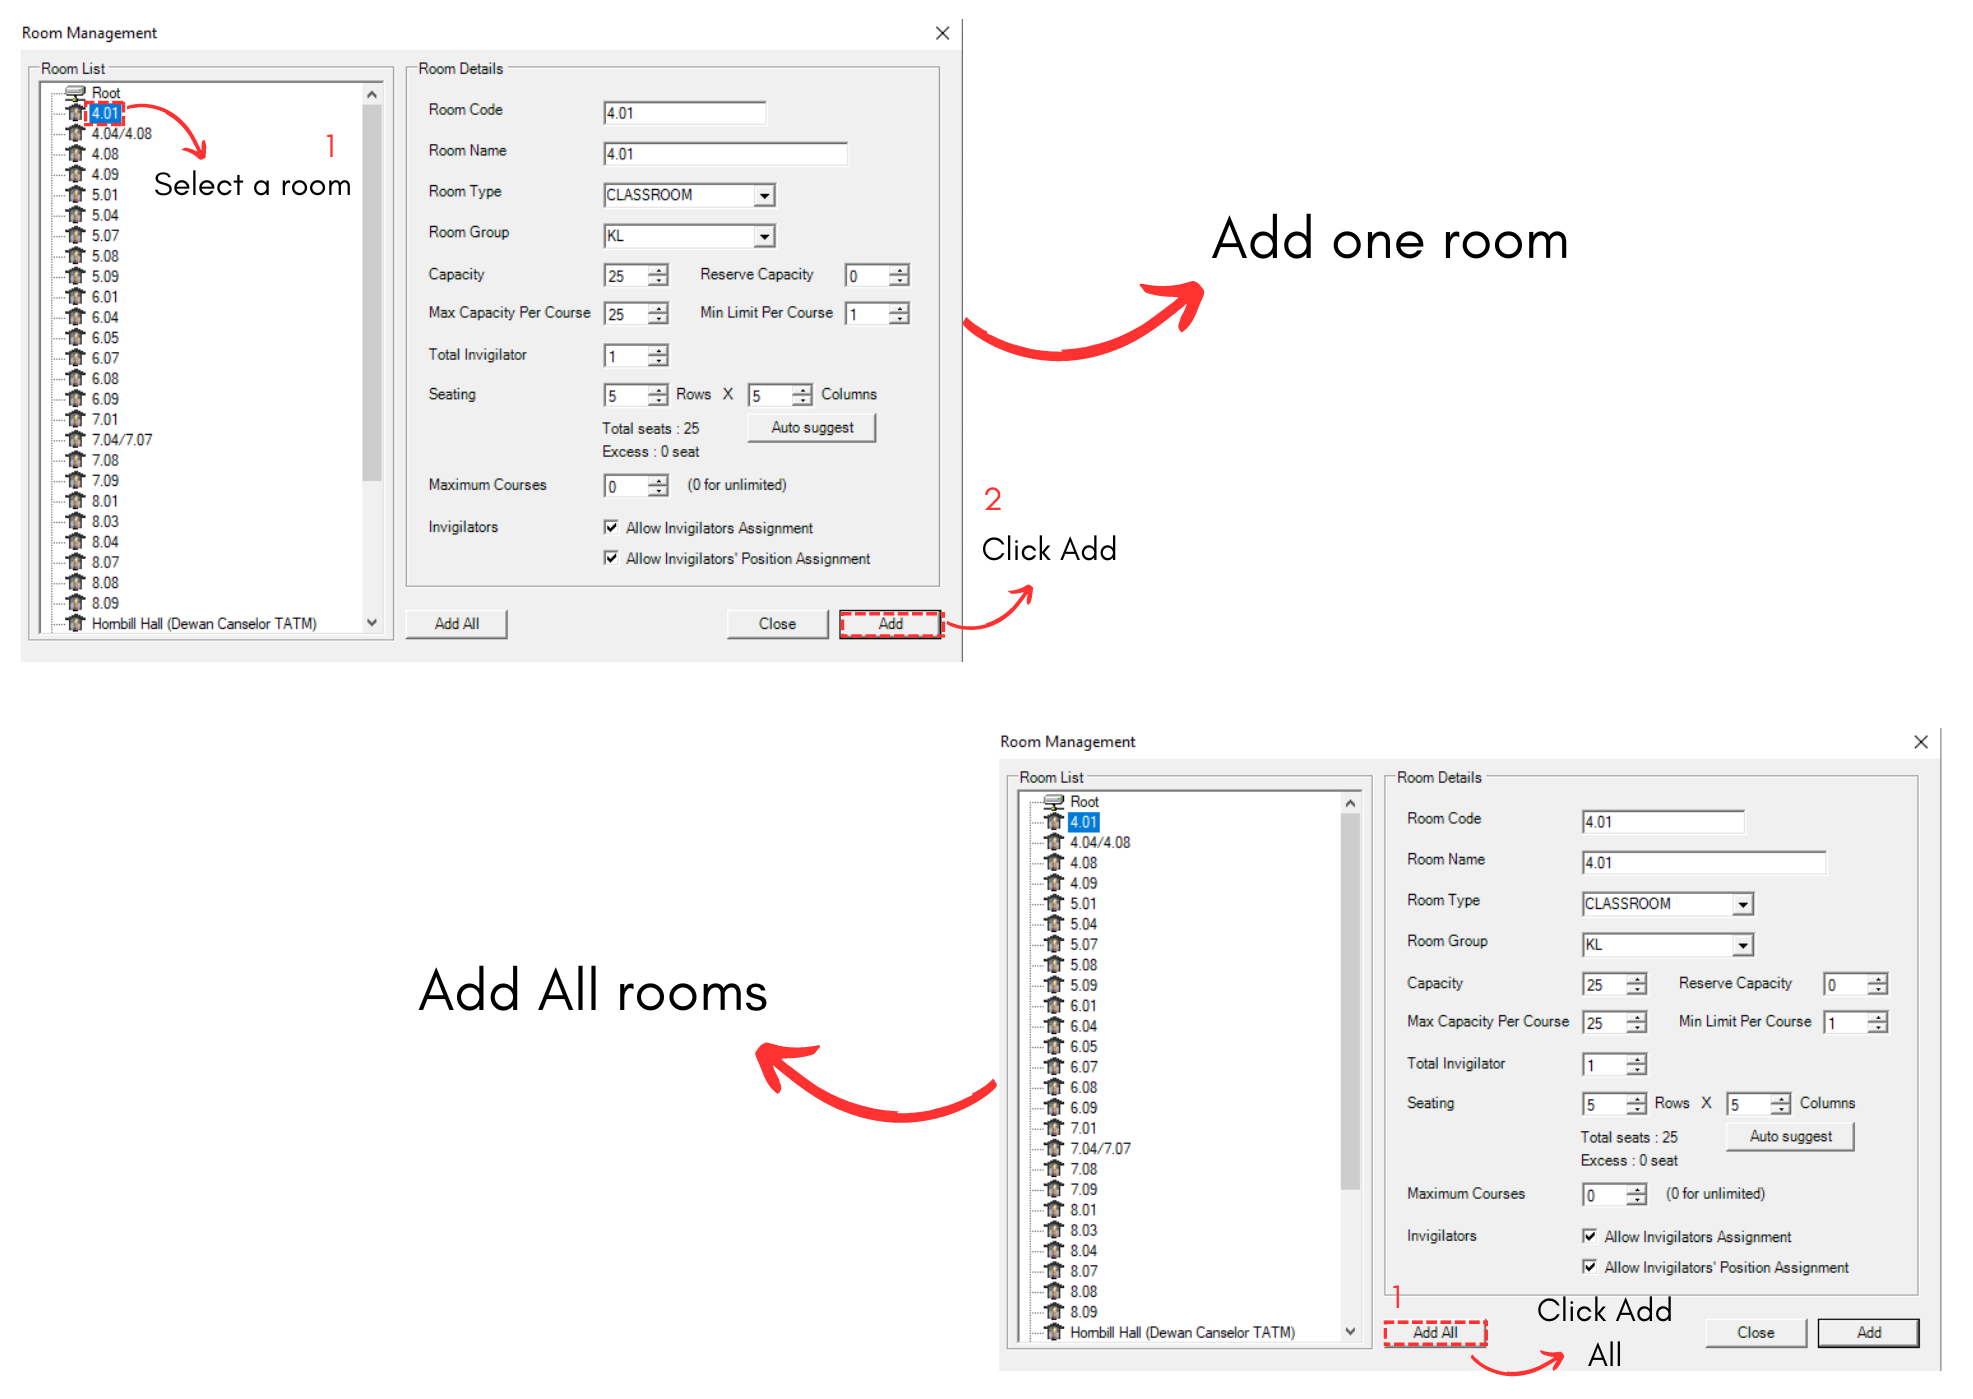
Diagram 1.2.3 Room Management Window Opened
You may select a room need to be added in and click Add OR Click Add All to add all rooms in the list.
Click Close to close Room Management window once done.
2. Room Properties

Diagram 1.2.4 Select a Room
To view Room properties, select a room in the list and then Click on the Room Properties icon. You may also double click on selected room to view the room properties.
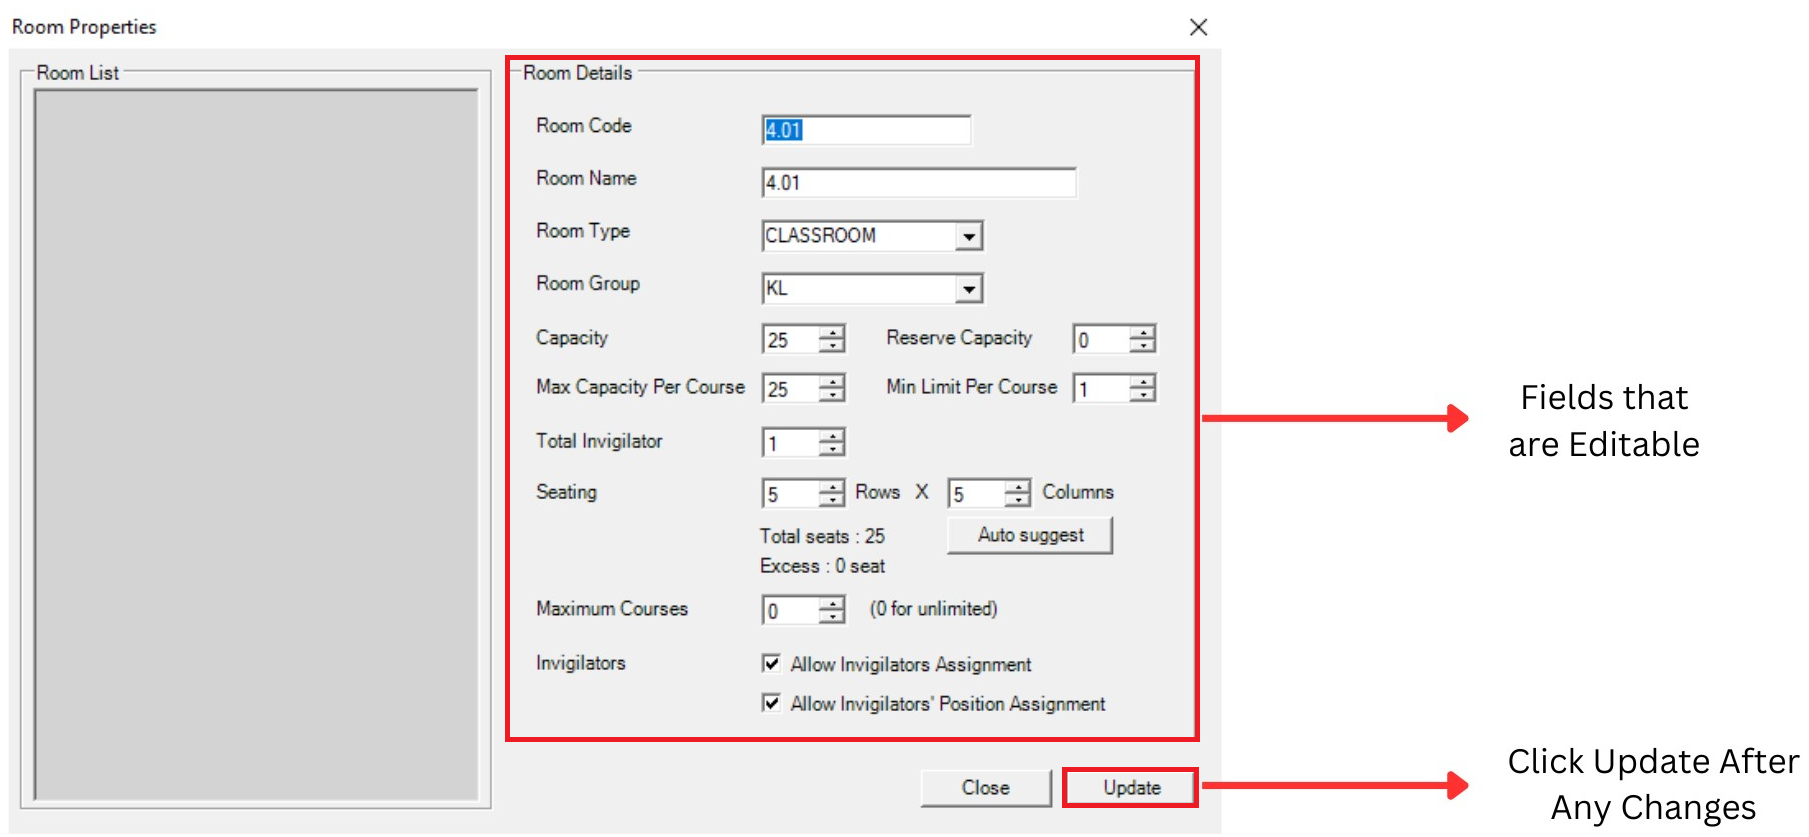
Diagram 1.2.5 Room Properties
A Room Properties window will appear and you will be able to see the room's details.
|
Room Code |
Code for the Room. Room Code is unique and cannot be duplicate. |
|
Room Name |
Name of the Room. IMPORTANT: Do not put 0 or leave it blank in the excel sheet. |
|
Room Type |
Type of room. It is compulsory. |
|
Room Group |
Building, Faculty or Campus of the room. It is non-compulsory. Example: Campus KL |
|
Capacity & Reserve Capacity |
Cpacity of the room. Reserve Capacity is the capacity that is reserve for a group of student and it is not available. |
|
Max Capacity Per Course & Min Limit Per Course |
Max Capacity Per Course is the max students per course in the room. Min Limit Per Course is the minimum student per course in the room. |
|
Total Invigilator |
Total of the invigilator that will invigilate the exam in the room. |
|
Seating |
Seating arrangement for the student in the room. You can use auto suggest to auto allocate. |
|
Maximum Courses |
Maximum courses in the room for the exam to be held. |
|
Invigilators |
You may tick your preferences on to have invigilator and allow the invigilator to have position. |
Table 1.2.1 Room Details Explanations
3. Deleting room list
There are 2 simple steps to Delete Room Only or Delete All:
Delete A Room Only
Step 1: Select the room and Click Delete Room Icon.
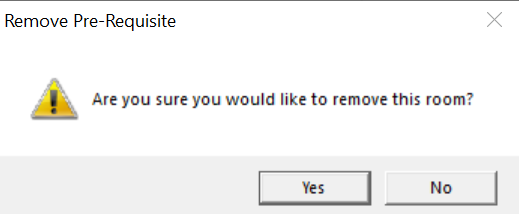
Diagram 1.2.6 Confirmation window to delete room
Step 2: Confirmation window will pop-up and click Yes to Delete.
Delete All
Step 1: To delete all rooms, click the delete all icon. 
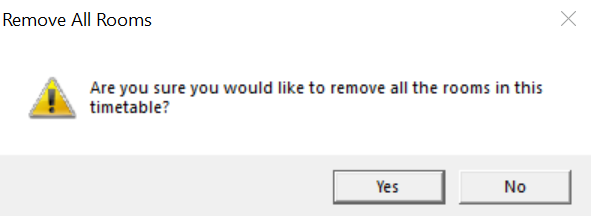
Diagram 1.2.7 Confirmation window to delete all rooms
Step 2: Confirmation window will pop-up and click Yes to Delete.
4. Auto Assign Room Seating Arrangement
Click the icon  to Auto Assign Room Seating Arrangement.
Confirmation window will pop-up.
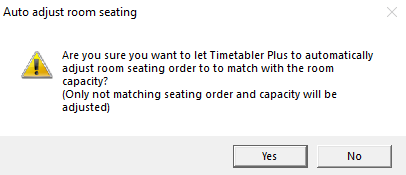
Diagram 1.2.8 Confirmation to auto adjust room seating
Click Yes to let Timetable Plus to automatically adjust room seating order to match with the room capacity.
5. Update All Room Field
Click the icon  to update all room field.
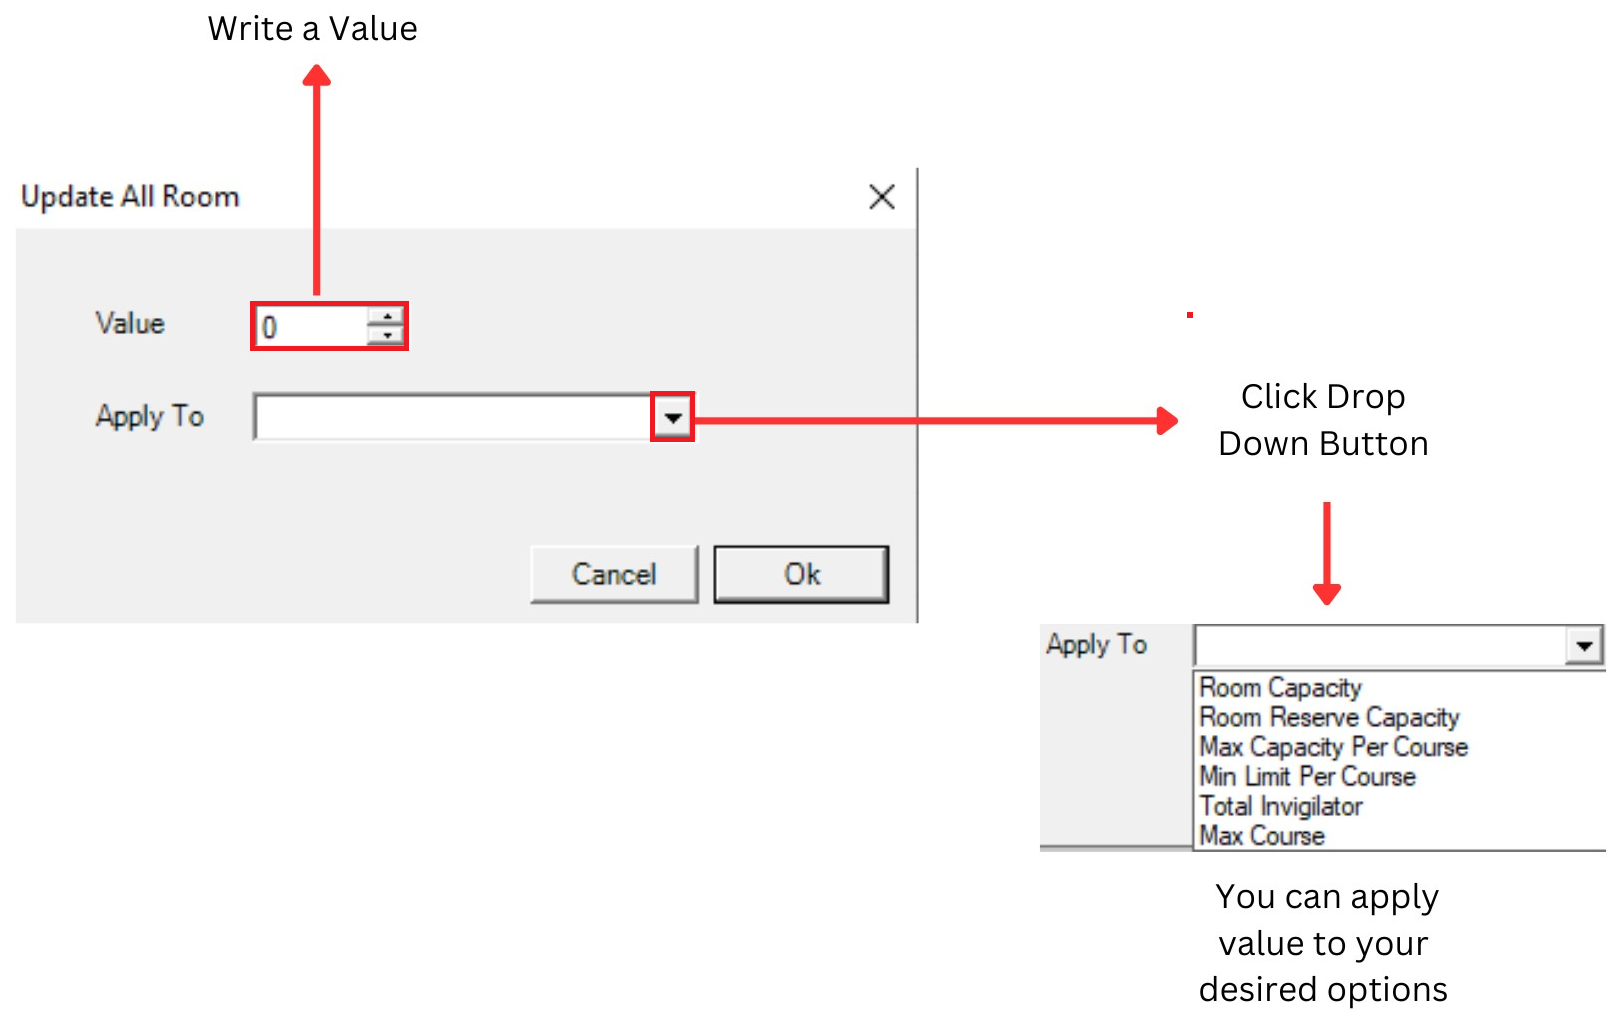
Diagram 1.2.9 Update Value All Room
New window will pop-up and you can put a value and can apply to your desired options.
6. Export Room
To export room, you may click on the Export Rooms icon. 
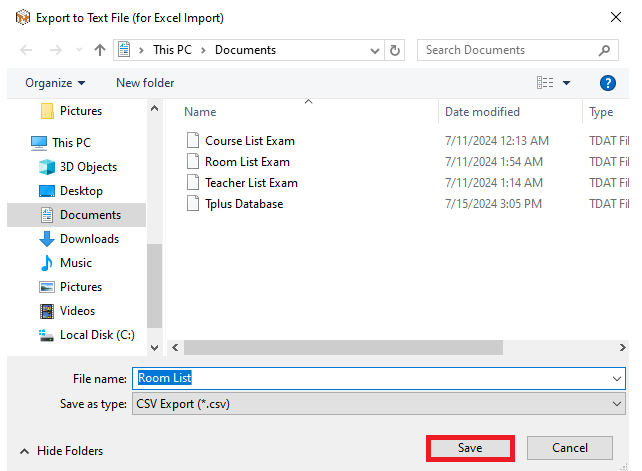
Diagram 1.2.10 Export Window Pop-Up
Select your desired place to save. And click Save button.
7. Refresh Room List
 to refresh room list