Stage 7 : Printing
1. Print from Timetable Plus
1.1. Print Preview
Click Preview & Printing Tab to go Print Preview

Diagram 1.1.1: Location of Preview & Printing tab
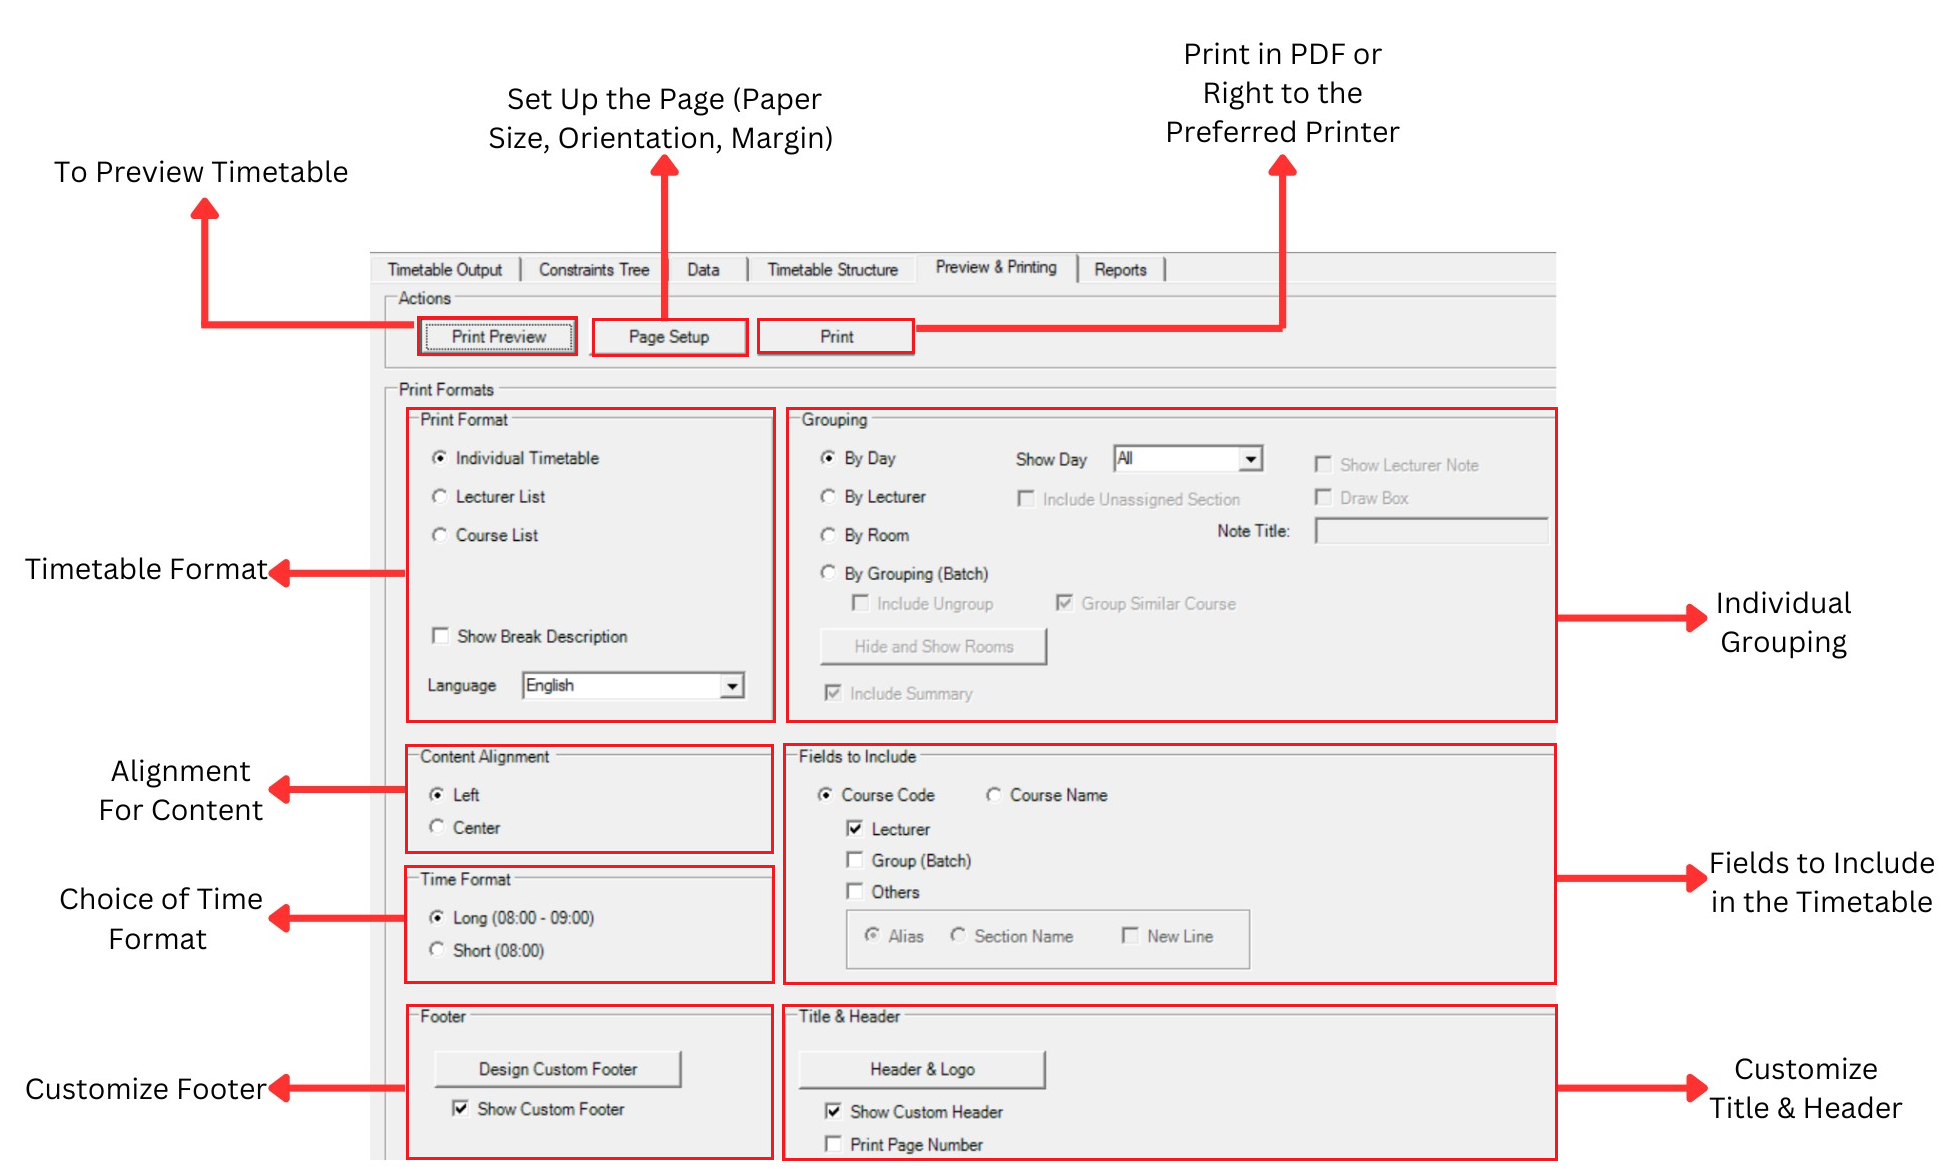
Diagram 1.1.1: Print Preview Window
1. Print Format
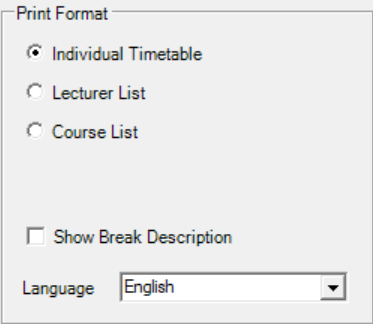
Diagram 1.1.2: Print Format
For Print Format, you are able to choose to print Individual Timetable, Lecturer List or Course List.
-Individual Timetable
To Preview individual timetable by selected grouping
(must select one of the Grouping Field)
-Lecturer List
For Lecturer, you able to hide or show lecturers by clicking the Hide and Show Lecturers
Click ![]()
Select Lecturers Box will appear. In order to print certain lecturer user need to select the lecturers at Hidden Lecturers and bring them to the left (Unhidden Lecturers).
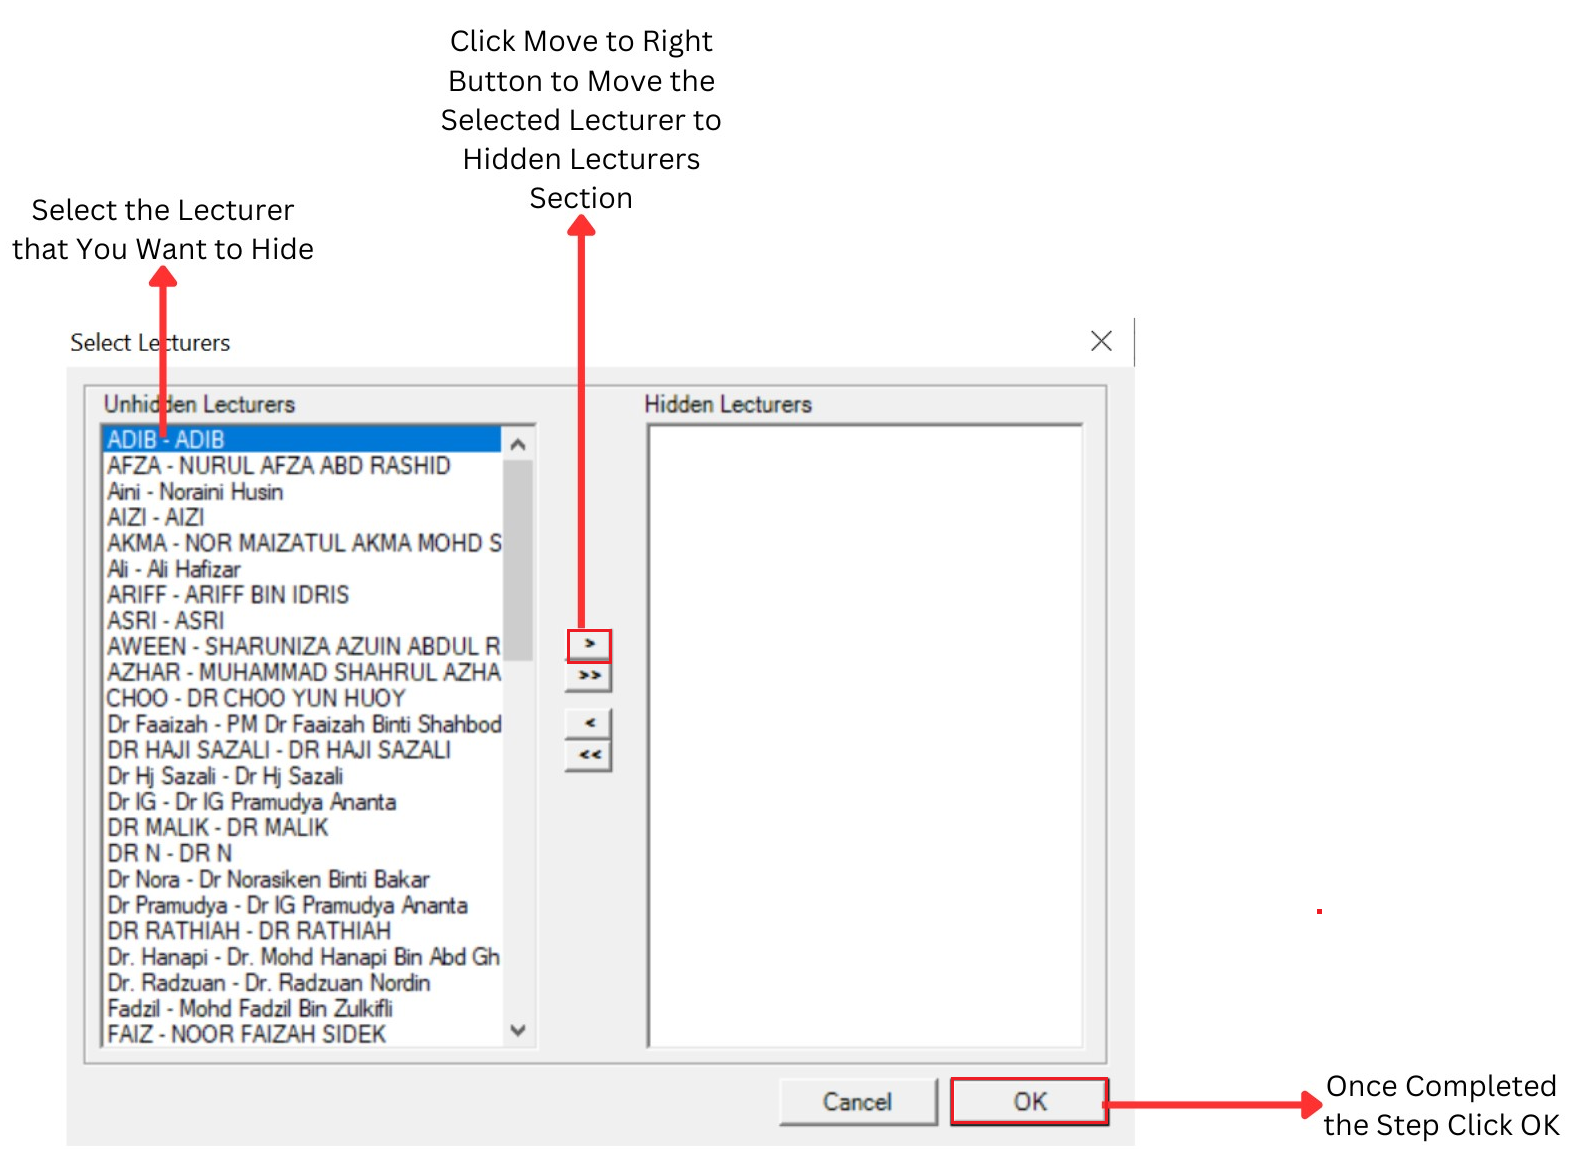
Diagram 1.1.3 : Select Lecturers Box
2. Grouping
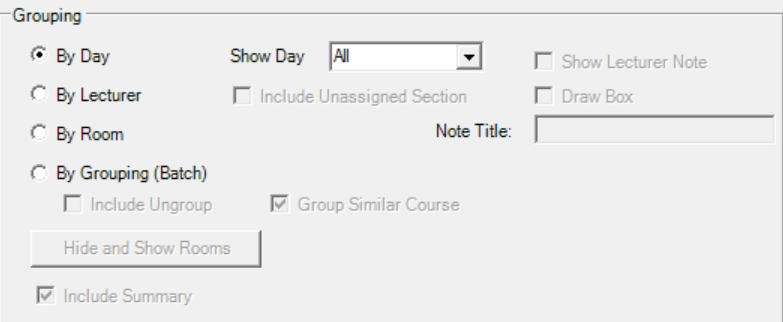
Diagram 1.1.4: Grouping
Grouping: Only Apply When You choose Individual Timetable
in Print Format.
You can have your content to be printed by day, lecturer, room and grouping.
3. Content Alignment
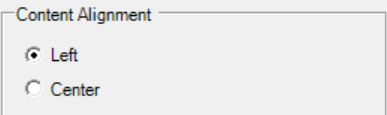
Diagram 1.1.5: Content AlignmentYou may choose to have your content on left side or center.
4. Time Format
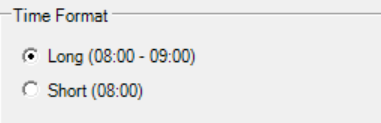
Diagram 1.1.6: Time FormatUser can choose to set the Time Format either using the
long (0800-0900) or the shorter version (0800).
5. Fields to Include
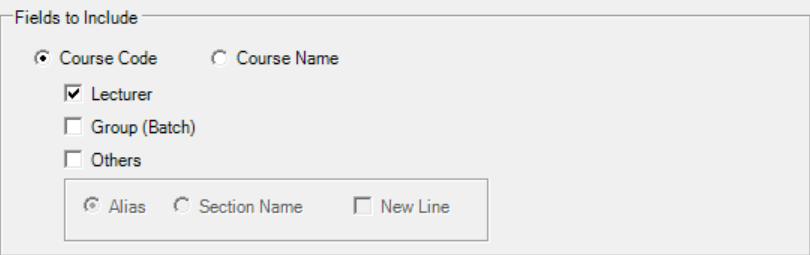
Diagram 1.1.7: Fields to IncludeUser have the choice to select the following:
- Course Code: Recommended as it won’t take too
much space
- Course Name: Too long to be inserted in the timetable
- Group (Batch): The name in the Grouping Box
- Others: Either the Alias or Section Name from
the Section Properties
6. Footer
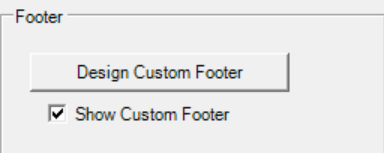
Diagram 1.1.8: Footer
User can include footer. The footer can be designed by the user by clicking
the ![]()

Diagram 1.1.9: Custom Footer Design7. Title & Header
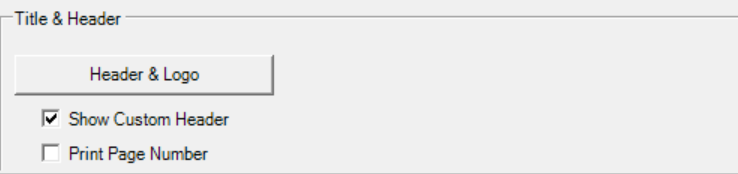
Diagram 1.1.10:Title & HeaderUser can also customized the Title & Header by clicking![]()

Diagram 1.1.11: Header Design